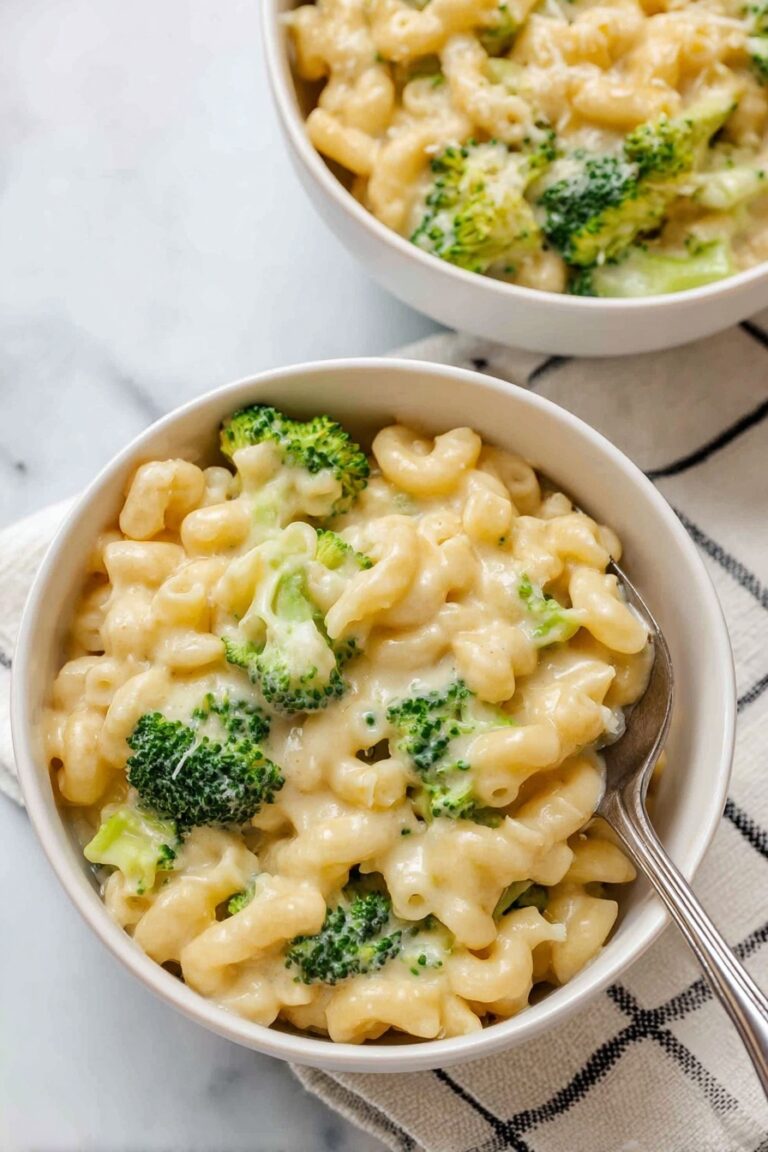
If you’re craving comfort food with a twist that’s won hearts all over the internet, you’ve got to try this Viral Mac and Cheese Recipe. I absolutely love how creamy and cheesy it turns out, plus it’s surprisingly straightforward to make. When I first tried this recipe, inspired by Tini’s popular TikTok creation, it quickly became a go-to for cozy dinners and gatherings. Stick with me, and I’ll share all my best tips so you can nail this at home too!
Why You’ll Love This Recipe
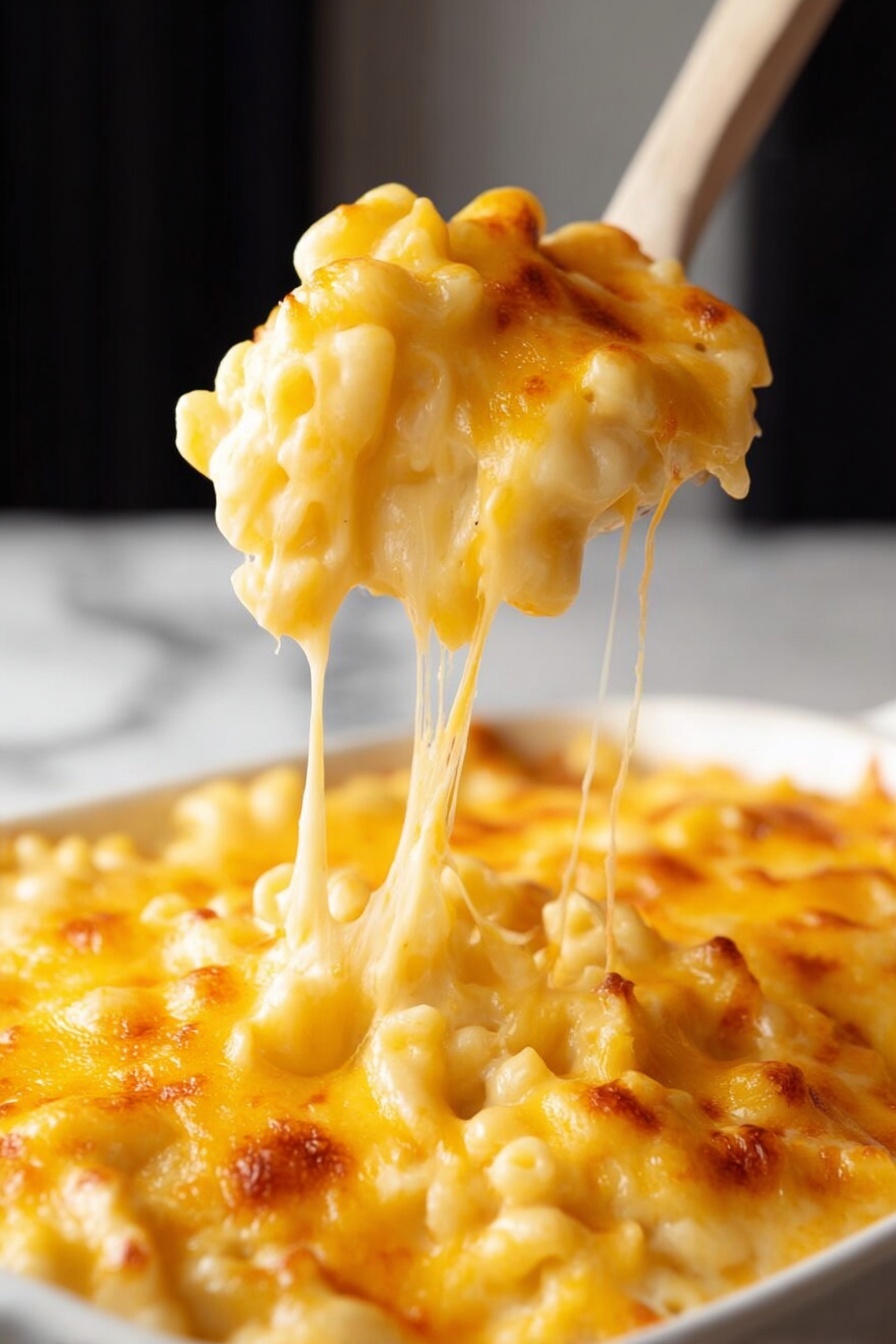
- Unbelievably Creamy: The combination of cheeses with evaporated milk and heavy cream creates a velvety sauce that clings to every noodle.
- Simple Ingredients: You probably have most of what you need in your fridge or pantry already.
- A Crowd-Pleaser: This Viral Mac and Cheese Recipe has everyone coming back for seconds — it’s amazing for holiday dinners or casual weeknights.
- Baked with a Golden Crust: The layered cheese topping crisped to perfection is the finishing touch that takes this from everyday to spectacular.

Ingredients You’ll Need
The blend of cheeses and the sauce’s base ingredients work together to deliver that rich, smooth texture you’re dreaming of. I recommend using fresh, shredded cheese instead of pre-shredded to avoid any waxy coating that can spoil the melt.

- Cavatappi pasta: I love its spiral shape that holds onto the sauce so well, but elbow macaroni works fine too.
- Mozzarella: This adds stretch and gooeyness — the key to that melty mac moment.
- Colby Jack cheese: A mild flavor with creamy texture, perfect for balancing sharper cheeses.
- Sharp cheddar: Gives you that classic mac and cheese tang and depth.
- Evaporated milk: Adds creaminess without watering down the sauce like regular milk might.
- Heavy whipping cream: Intensifies richness and helps maintain a smooth sauce.
- Salt: Essential for flavor balance.
- White pepper: Milder than black pepper and blends right into cheese sauces.
- Garlic powder: A subtle kick that elevates the savory notes.
- Smoked paprika: Adds warmth and a smoky depth that makes this understatedly awesome.
- Dijon mustard: A secret weapon for tang and cutting through richness without overpowering.
- Unsalted butter: Forms the base of the roux, creating that essential sauce thickener.
- All-purpose flour: Combines with butter to thicken the cheese sauce just right.
Variations
This recipe is a fantastic base to make your own. I often experiment by swapping cheeses or adding mix-ins, and honestly, it’s just as great every time. Feel free to tweak it for your taste and dietary needs!
- Add-Ins: I’ve tossed in cooked bacon or caramelized onions for extra savory notes, and my family totally goes crazy for it.
- Vegetarian: This recipe is naturally vegetarian, but you can bulk it up with roasted veggies like broccoli or butternut squash.
- Spicy Kick: A pinch of cayenne or some chopped jalapeños blends nicely if you want a little heat.
- Dairy-Free Adaptation: For dairy-free lovers, try swapping cheeses with plant-based alternatives and using coconut or oat cream.
How to Make Viral Mac and Cheese Recipe
Step 1: Cook the Pasta Perfectly
Start by boiling your pasta in generously salted water — this flavors the noodles themselves, not just the sauce. I usually cook cavatappi for about 7 minutes until al dente, so they’re firm enough to hold the sauce but not mushy. Drain the pasta and set it aside, reserving a little pasta water just in case your sauce needs thinning later.
Step 2: Build Your Cheese Sauce
In a heavy-bottomed pan, melt the butter over medium-high heat, then whisk in the flour to form a smooth paste (the roux). This step is crucial — no lumps! Once combined, slowly pour in the evaporated milk, whisking constantly until the sauce bubbles and thickens. Reduce heat to medium-low and add the heavy cream gradually. Here’s where patience is key because you want a silky smooth base before adding any cheese.
Step 3: Add Cheese in Batches
Combine all your shredded cheeses and divide them in half. Add a handful of cheese into your sauce and whisk vigorously until melted and smooth before adding more. This slow, gradual melting helps avoid clumping or graininess. This whole process takes about 20 minutes — worth the wait to get that perfect creamy texture! Once all cheese has melted, stir in salt, white pepper, garlic powder, smoked paprika, and Dijon mustard to layer in rich flavor.
Step 4: Combine and Assemble
Mix the cooked pasta into your cheesy sauce until every noodle is luxuriously coated. Spread half of the mixture into a 9×13 baking dish, then sprinkle half of the reserved cheese over it. Layer the remaining pasta on top and finish with the rest of the cheese. Preheat your oven to 375°F (190°C) while assembling.
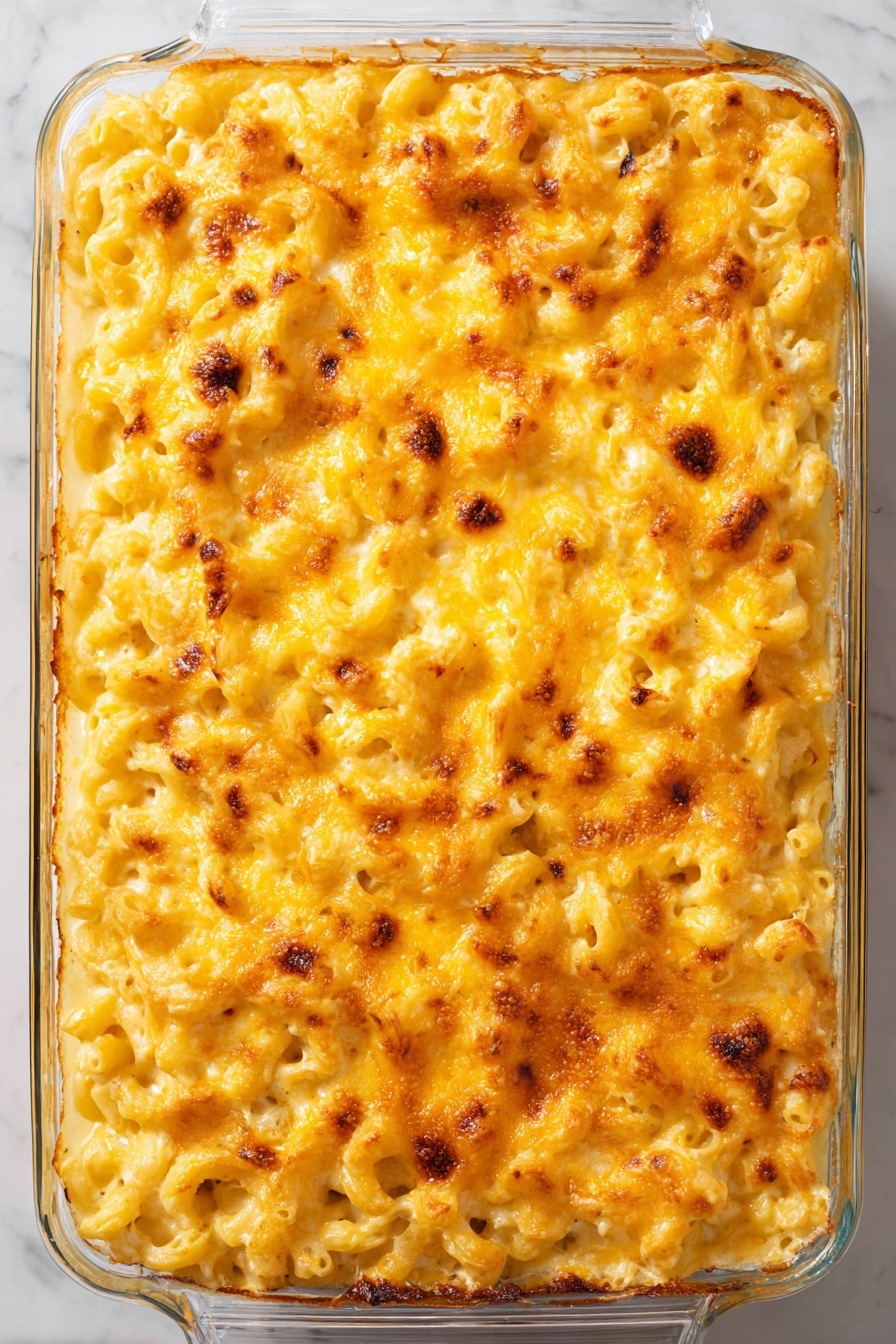
Step 5: Bake to Golden Perfection
Bake at 375°F for about 20 minutes. You’re aiming for melted cheese bubbles and a lightly browned top. For that irresistible golden crust, switch your oven to broil on low and broil for 1–2 minutes — keep a close eye so it doesn’t burn! After removing from the oven, let it rest for 10 minutes; this lets the sauce thicken perfectly and makes serving easier.
Pro Tips for Making Viral Mac and Cheese Recipe
- Use Fresh Shredded Cheese: Pre-shredded cheese often has anti-caking agents that prevent smooth melting, so shredding it yourself really improves texture.
- Slow Cheese Addition: Adding cheese in small batches while whisking avoids clumps and helps the sauce stay silky.
- Don’t Skip Resting: Let the baked mac rest for at least 10 minutes; it firms up so you don’t end up with a runny mess when serving.
- Watch the Broiler Close: The broiler can go from golden to burnt in seconds — stay attentive for the perfect crust.
How to Serve Viral Mac and Cheese Recipe
Garnishes
I love topping mine with a handful of freshly chopped parsley for a pop of color and freshness. Sometimes I sprinkle crispy breadcrumbs toasted in butter for an added crunch, which my kids actually request! A dash of extra smoked paprika on top can also enhance that smoky flavor just before serving.
Side Dishes
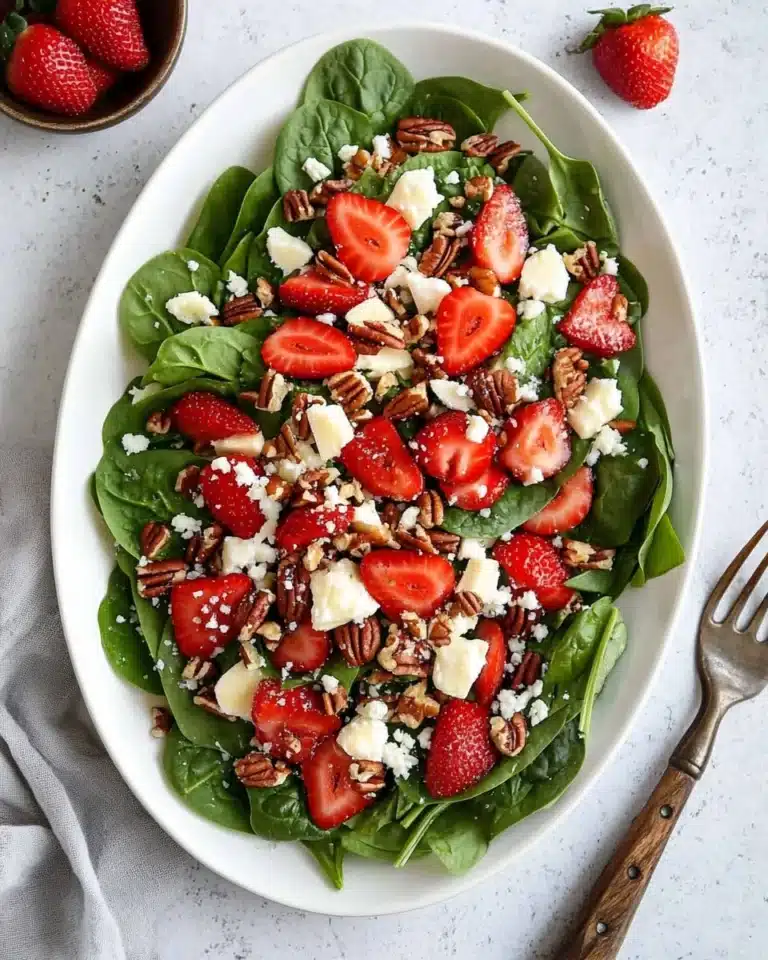
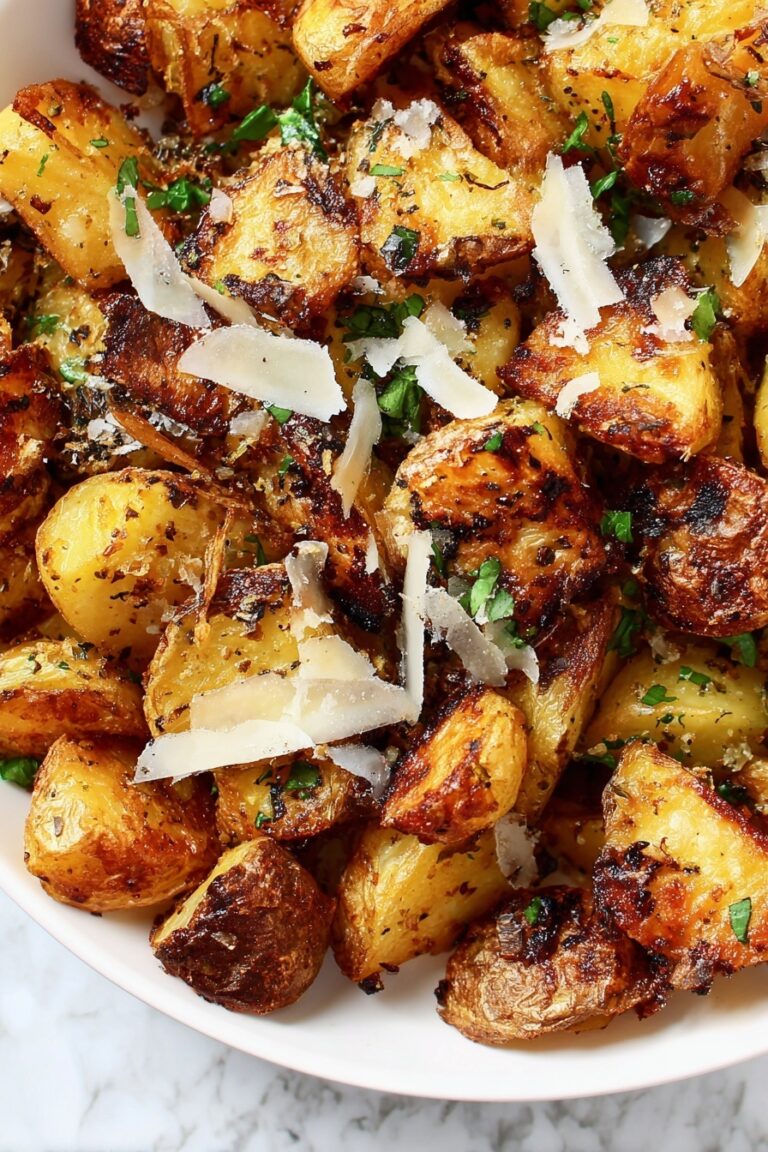
This mac and cheese pairs beautifully with crisp green salads, roasted Brussels sprouts, or even some tangy coleslaw to cut through the richness. On game days, my family loves it next to hot wings or BBQ ribs — total comfort food heaven.
Creative Ways to Present
For special occasions, try serving the Viral Mac and Cheese Recipe in individual ramekins topped with breadcrumb and cheese crust for a dainty look. I’ve also layered it with sautéed mushrooms or truffle oil drizzle for an elevated adult version that wows guests. It’s surprisingly versatile for both casual and fancy meals.
Make Ahead and Storage
Storing Leftovers
I store leftovers in an airtight container in the fridge, and it keeps well for up to 3 days. Just be sure to let the mac and cheese cool completely before refrigerating to prevent sogginess. Reheating is easiest when done gently to maintain that creamy texture.
Freezing
Freezing works well if you want to prep ahead. I recommend freezing in portioned freezer-safe containers so you can thaw just what you need. It holds up nicely for up to 2 months. Thaw overnight in the fridge before reheating for best results.
Reheating
To reheat, I like warming leftovers gently on the stovetop over low heat, stirring often and adding a splash of milk or cream if needed. This way the sauce loosens up and stays creamy without drying out. Microwaving works in a pinch but watch the time to avoid rubbery cheese.
FAQs
-
Can I use a different type of pasta for this Viral Mac and Cheese Recipe?
Absolutely! While cavatappi is ideal because its spirals grab onto the cheese sauce beautifully, elbow macaroni or other short pasta shapes like shells or rotini work just as well. Just keep the cooking time similar to ensure noodles are perfectly al dente.
-
Why do I need to add cheese gradually to the sauce?
Adding cheese bit by bit while whisking prevents it from clumping or becoming grainy. This gentle approach lets each handful melt smoothly into the sauce, giving you a silky texture that’s characteristic of the Viral Mac and Cheese Recipe.
-
Can I make this recipe ahead of time?
Yes! You can prepare the mac and cheese up to the baking step, refrigerate it overnight, then bake just before serving. This is perfect for busy days or when hosting guests. Just warm it well and consider broiling briefly for that golden top.
-
Is it possible to make this recipe vegan?
While this recipe relies on dairy for its signature creamy texture, you can experiment with vegan cheeses and plant-based milks or creams. Use a flour-based roux as the base and try brands that melt well. Keep in mind the flavor and texture will be different, but it can still be delicious.
-
What’s the best way to get a crispy cheese topping?
After baking, switch your oven to broil on low and watch the mac and cheese carefully for 1–2 minutes. The residual cheese will bubble and brown quickly to form a perfect crust. Don’t walk away during this step, because broilers can burn food fast!
Final Thoughts
This Viral Mac and Cheese Recipe quickly became a favorite in my kitchen because it delivers that crave-worthy comfort food feeling with some real flair. The balance of cheesy richness and the smooth, creamy sauce makes it feel like a hug on a plate. I promise, once you try it, you’ll understand why it’s gone viral — it’s authentic, easy, and insanely satisfying. Give it a go and enjoy the applause from your family or friends!
Print
Viral Mac and Cheese Recipe
- Prep Time: 10 minutes
- Cook Time: 50 minutes
- Total Time: 1 hour
- Yield: 8 servings
- Category: Main Course
- Method: Baking
- Cuisine: American
Description
Tini Mac and Cheese is a creamy, cheesy, and indulgent baked macaroni and cheese recipe that has gained viral fame on TikTok. Featuring a blend of mozzarella, Colby Jack, and sharp cheddar cheeses combined with evaporated milk and heavy cream, this dish delivers a rich and velvety cheese sauce coated over cavatappi pasta, baked to a golden bubbly perfection. It’s perfect for holiday meals or comforting family dinners.
Ingredients
Pasta
- 1 Lb Cavatappi pasta (or elbow macaroni)
Cheese
- 1 Lb Mozzarella (16 OZ shredded)
- 1 Lb Colby Jack (16 OZ shredded)
- 1/2 Lb Sharp cheddar (8 OZ shredded)
Dairy
- 12 Ounces Evaporated milk (1 Can)
- 2 Cups Heavy whipping cream
- 3 Tablespoons Unsalted butter
Seasonings and Others
- 1 teaspoon Salt
- 1 teaspoon White pepper
- 1 teaspoon Garlic powder
- 1 teaspoon Smoked paprika
- 1 Tablespoon Dijon mustard
- 3 Tablespoons All purpose flour
Instructions
- Cook the Pasta: Boil the cavatappi pasta in salted water according to package instructions, approximately 7 minutes until al dente. Drain the pasta and set aside.
- Make the Roux: In a heavy-bottomed pan over medium-high heat, melt the unsalted butter. Add the all-purpose flour and whisk continuously until a smooth paste forms.
- Add Evaporated Milk: Slowly incorporate the evaporated milk while whisking. Continue whisking until the sauce begins to bubble, indicating it’s starting to thicken.
- Add Heavy Cream and Simmer: Reduce the heat to medium-low and gradually add the heavy whipping cream while whisking continuously. Let the sauce cook gently.
- Incorporate Cheese Gradually: Combine all the shredded cheeses in a bowl and divide into two equal portions. Start by adding a handful of cheese to the sauce and whisk vigorously until melted and smooth before adding more. Repeat until all the first half of the cheese is fully incorporated. This process takes about 20 minutes to ensure a smooth, creamy sauce and fully cooked flour.
- Season the Cheese Sauce: Stir in salt, white pepper, garlic powder, smoked paprika, and Dijon mustard to the cheese sauce, blending all flavors thoroughly.
- Combine Pasta and Cheese Sauce: Add the cooked pasta to the cheese sauce and stir gently to coat all the noodles evenly.
- Layer for Baking: Preheat your oven to 375°F and place the oven rack in the center. In a 9×13 baking dish, spread half of the cheese-coated pasta. Sprinkle half of the remaining shredded cheese on top. Add the rest of the pasta and top with the remaining cheese.
- Bake: Bake for about 20 minutes at 375°F until the cheese on top has melted and starts to turn golden brown.
- Optional Broil: For an extra golden and slightly crisp top, broil on low for 1 to 2 minutes. Watch closely to avoid burning.
- Rest and Serve: Remove from the oven and let the mac and cheese rest for about 10 minutes before serving to allow the sauce to set.
Notes
- This recipe went viral on TikTok with over 100 million views, making it a popular and must-try comfort food for holidays and family gatherings.
- Using a combination of mozzarella, Colby Jack, and sharp cheddar delivers a rich flavor and smooth melt.
- Slowly adding cheese in increments ensures a velvety smooth sauce without clumping.
- Resting the dish after baking helps the sauce thicken and improves texture for serving.
- Be cautious when broiling; a minute or two is usually enough to brown the top without burning.
Nutrition
- Serving Size: 1 cup
- Calories: 480
- Sugar: 3 g
- Sodium: 580 mg
- Fat: 30 g
- Saturated Fat: 19 g
- Unsaturated Fat: 9 g
- Trans Fat: 0.5 g
- Carbohydrates: 35 g
- Fiber: 2 g
- Protein: 18 g
- Cholesterol: 95 mg

