
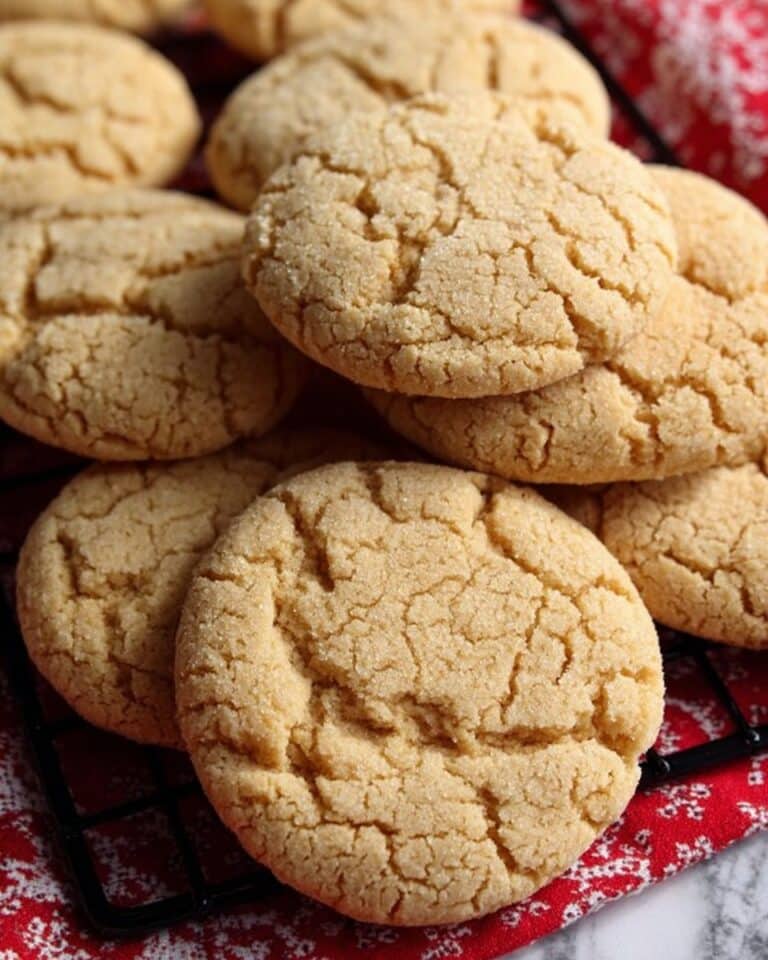
If you’ve ever struggled with whipped cream frosting that melts too fast or just won’t hold its shape, I’ve got your back. This Stabilized Whipped Cream Frosting Recipe is absolutely a game-changer. Whether you’re decorating cakes, cupcakes, or sweet treats for a party, you’ll love how fluffy, creamy, and long-lasting this frosting is. I discovered a few tricks that make it ultra-stable without losing that light, dreamy texture we all crave, and I can’t wait to share them with you!
Why You’ll Love This Recipe
- Long-lasting Stability: This frosting holds up beautifully, even in warm conditions or over several hours.
- Fluffy and Light Texture: It stays cloud-soft and insanely creamy without being heavy or dense.
- Versatile Uses: Perfect for cakes, cupcakes, piping, or spreading with consistent results every time.
- Simple Ingredients: Made with common pantry staples and just a couple secret tricks for that extra hold.

Ingredients You’ll Need
This recipe combines some familiar ingredients in a smart way to add strength to whipped cream without compromising on taste or texture. I recommend using high-quality heavy whipping cream for the best results—fresh and cold makes all the difference!

- Cold Water: This helps to dissolve gelatin properly, which stabilizes the frosting.
- Unflavored Gelatin: The magic ingredient that keeps the whipped cream firm and stable.
- Heavy Whipping Cream: Use full-fat and very cold cream to get that perfect whisked texture.
- Powdered Sugar: Adds sweetness smoothly without grittiness, blending seamlessly into the cream.
- Vanilla Extract: Because a hint of vanilla makes everything better, trust me on this!
- Instant Vanilla Pudding Powder: Adds body and richness, helping the frosting stand tall.
- Cream Cheese or Mascarpone Cheese: For a dreamy tang and extra creaminess that elevates the flavor.
Variations
I love customizing this stabilized whipped cream frosting recipe depending on what I’m making or who I’m serving it to. It’s endlessly adaptable! Feel free to swap in flavors or tweak the texture slightly to fit your dessert vibe.
- Chocolate Version: I’ve stirred in some cocoa powder before whipping for an indulgent twist that my family can’t get enough of.
- Fruit-Flavored: Adding pureed strawberries or raspberries can make the frosting pop with fresh flavor—just fold them in gently to keep it fluffy.
- Dairy-Free Alternative: While this recipe relies on cream and cream cheese, you can experiment with coconut cream and dairy-free cream cheese for a vegan take.
- Less Sweet: If you prefer your frosting less sugary, try cutting back on the powdered sugar a bit; just be careful that it still whips up well.
How to Make Stabilized Whipped Cream Frosting Recipe
Step 1: Bloom the Gelatin
Start by sprinkling the unflavored gelatin over cold water in a small bowl. Let it sit for a few minutes until it absorbs the liquid and becomes gelatinous. This ‘blooming’ step is key because it ensures the gelatin dissolves smoothly without lumps when warmed.
Step 2: Dissolve the Gelatin
Next, gently warm the bloomed gelatin mixture—either in a microwave for about 10 seconds or over a double boiler—just until it becomes liquid again. Be careful not to boil it! Then set it aside to cool slightly; you want it still liquid but not hot to combine with the cream later.
Step 3: Whip the Cream and Sugar
Grab your cold heavy cream and start whipping it with powdered sugar and vanilla extract until it begins to thicken but hasn’t formed stiff peaks yet. This will give you space to incorporate the gelatin for a beautifully even texture.
Step 4: Add the Gelatin Mixture
Slowly drizzle in the cooled liquid gelatin while continuing to whip the cream. The gelatin infuses stability right as the cream builds structure. Keep whipping until you get those soft, smooth peaks that hold but aren’t stiff or grainy.
Step 5: Prepare and Fold in Cream Cheese Mixture
Whip the room temperature cream cheese (or mascarpone) with powdered sugar and vanilla separately until silky smooth. Then gently fold this into your stabilized whipped cream for added creaminess and tang. This step is my personal favorite—it makes the frosting so rich without heaviness.
Step 6: Final Whip and Chill
Give everything one last gentle whip to combine fully. Refrigerate the frosting for at least 15 minutes before using to let it firm up just enough to pipe or spread. Trust me, this little rest makes a big difference!
Pro Tips for Making Stabilized Whipped Cream Frosting Recipe
- Chill Everything First: I always chill my mixing bowl, beaters, cream, and even gelatin bowl—it helps the cream whip faster and hold peaks longer.
- Add Gelatin Slowly: Pour the dissolved gelatin in a thin stream to prevent lumps and ensure even distribution.
- Don’t Overwhip: Stop whipping as soon as you see smooth peaks to avoid turning your frosting grainy or buttery.
- Use Immediately or Chill: While you can refrigerate the frosting, it’s best to use it within a day for perfect texture and flavor.
How to Serve Stabilized Whipped Cream Frosting Recipe

Garnishes
When I’m plating desserts with this frosting, I love simple yet elegant garnishes like fresh berries, edible flowers, or a dusting of cocoa powder. They add beautiful pops of color and flavor without competing with the frosting’s creamy texture.
Side Dishes
This stabilized whipped cream frosting pairs wonderfully with classic desserts like vanilla or chocolate sponge cake, fruit tarts, and even light cheesecakes. I also enjoy it dolloped next to warm pies for a perfect balance of textures.
Creative Ways to Present
For special occasions, I like piping this frosting using star tips to create delicate rosettes or swooping ribbons. You can even layer it between cake layers for an impressive look. And here’s a fun trick: slightly tint the frosting with natural food color for themed parties—it holds color beautifully!
Make Ahead and Storage
Storing Leftovers
I usually store leftover stabilized whipped cream frosting in an airtight container in the fridge for up to 3 days. Before using again, gently re-whip it with a hand mixer to bring back that fluffy texture—it’s almost like magic.
Freezing
Freezing whipped cream frosting can be tricky, but with this stabilized version, it freezes surprisingly well. I portion it into small containers, freeze for up to a month, and then thaw overnight in the fridge before gently whipping it again for best results.
Reheating
Since it’s cream-based, reheating isn’t typically needed—just thaw and re-whip as mentioned. If you notice any separation, a quick whip or gentle stirring usually brings it back together smoothly.
FAQs
-
Can I use flavored gelatin instead of unflavored?
It’s best to stick with unflavored gelatin for this recipe. Flavored gelatin can alter the taste and color of your frosting in unpredictable ways, often overpowering the delicate vanilla and cream flavors.
-
Why is the gelatin necessary in stabilized whipped cream frosting?
Gelatin acts as a setting agent that holds the whipped cream’s structure, preventing it from deflating or melting quickly, especially at room temperature. Without it, whipped cream tends to weep and collapse faster.
-
Can I make this frosting ahead of time?
Absolutely! You can make this frosting a day in advance and keep it refrigerated. Just give it a quick whip before using for that freshly-made fluffiness.
-
What if my whipped cream doesn’t stiffen?
Make sure your cream and tools are cold. Also, check if your gelatin was fully dissolved and cooled before adding. Sometimes old cream or incorrect temperature can prevent whipping to stiff peaks.
-
Can I use this frosting for piping decorations?
Yes! This stabilized whipped cream holds its shape beautifully, making it ideal for piping rosettes, borders, and other designs without drooping.
Final Thoughts
I absolutely love how this Stabilized Whipped Cream Frosting Recipe transformed my dessert decorating game. It’s light, fluffy, and yet durable enough to stay picture-perfect longer than I ever imagined possible with whipped cream. Whether it’s a casual family cake or a special celebration, this frosting keeps looking fresh without fuss. I hope you enjoy making it as much as I do—consider it your new secret weapon for next-level desserts!
Print
Stabilized Whipped Cream Frosting Recipe
- Prep Time: 15 minutes
- Cook Time: 5 minutes
- Total Time: 20 minutes
- Yield: About 1.5 cups (enough to frost a 9-inch cake or 12 cupcakes)
- Category: Dessert Frosting
- Method: Stovetop
- Cuisine: American
- Diet: Vegetarian
Description
This Stabilized Whipped Cream Frosting recipe offers three methods to create a fluffy, stable whipped cream perfect for frosting cakes and desserts. Enhanced with gelatin, instant pudding, or cream cheese, this frosting holds its shape longer than traditional whipped cream, ensuring a beautiful, lasting finish on any sweet treat.
Ingredients
Gelatin Method
- 2 tbsp cold water
- 1 tsp unflavored gelatin
- 1 cup cold heavy whipping cream (240 ml)
- 1/4 cup powdered sugar (31 grams)
- 1 tsp vanilla extract
Instant Pudding Method
- 2 tbsp instant vanilla pudding powder
- 1 cup cold heavy whipping cream (240 ml)
- 3 tbsp powdered sugar (23 grams)
- 1/2 tsp vanilla extract
Cream Cheese Method
- 1/4 cup cream cheese or mascarpone cheese (113 grams), room temperature
- 1/3 cup powdered sugar (41 grams)
- 1 cup cold heavy whipping cream (240 ml)
- 1 tsp vanilla extract
Instructions
- Prepare the Gelatin: In a small bowl, sprinkle the unflavored gelatin over 2 tablespoons of cold water and let it bloom for 5 minutes. Then, gently warm the gelatin mixture until dissolved completely but not hot. Set aside to cool slightly.
- Whip Cream for Gelatin Method: In a chilled bowl, whip 1 cup of cold heavy whipping cream with ¼ cup powdered sugar and 1 tsp vanilla extract until soft peaks form. Slowly pour the cooled gelatin mixture into the whipped cream while continuing to whip to stiff peaks. This stabilized frosting keeps its shape well.
- Prepare Instant Pudding Frosting: In a chilled bowl, combine 1 cup cold heavy whipping cream, 2 tablespoons instant vanilla pudding powder, 3 tablespoons powdered sugar, and ½ teaspoon vanilla extract. Whip the mixture until stiff peaks form for a creamy and stable frosting option.
- Make Cream Cheese Frosting: Beat ¼ cup room temperature cream cheese (or mascarpone) with ⅓ cup powdered sugar until smooth and fluffy. In a separate chilled bowl, whip 1 cup cold heavy cream with 1 teaspoon vanilla until soft peaks form, then gently fold the whipped cream into the cream cheese mixture until fully combined and smooth.
- Use and Store: Use any of the stabilized whipped cream frostings immediately to frost your cake or cupcakes. Store leftovers in the refrigerator for up to 2 days. Before use, re-whip slightly if needed to restore texture.
Notes
- This recipe provides three different methods to stabilize whipped cream, each giving a slightly different texture and flavor.
- Gelatin method is excellent for a firmer hold and classic whipped cream taste.
- Instant pudding adds flavor and additional stabilization but may alter the taste slightly.
- Cream cheese method gives a richer and tangier frosting ideal for certain flavor profiles.
- Always use cold cream and chilled bowls for best whipping results.
- Whipped cream frosting is best used on the same day or stored refrigerated and gently re-whipped before use.
Nutrition
- Serving Size: 1 tablespoon
- Calories: 50
- Sugar: 3.5g
- Sodium: 15mg
- Fat: 4.5g
- Saturated Fat: 3g
- Unsaturated Fat: 1g
- Trans Fat: 0g
- Carbohydrates: 3g
- Fiber: 0g
- Protein: 0.5g
- Cholesterol: 15mg


