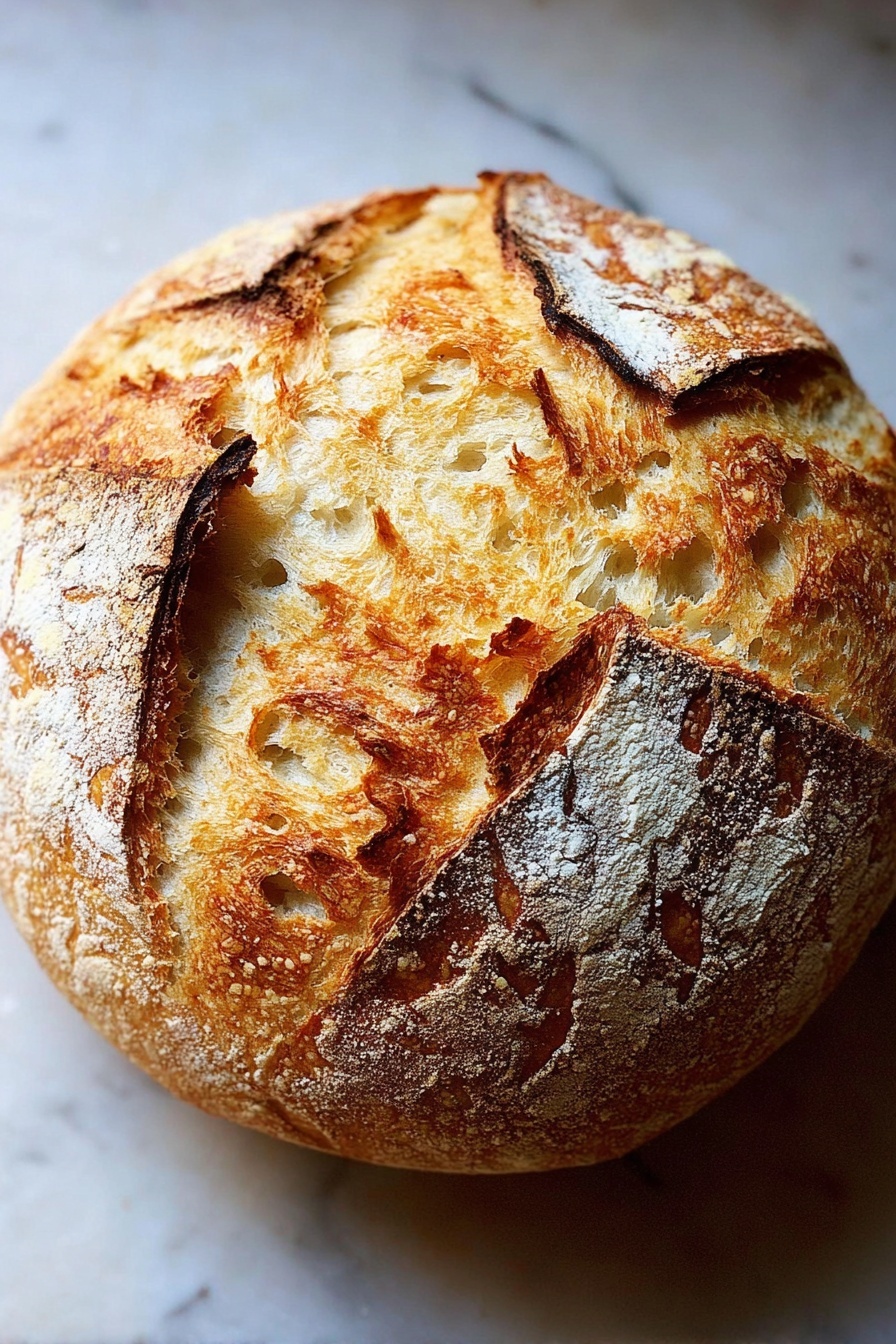
If you’ve ever been tempted to bake your own bread but felt intimidated by all the fancy lingo and tricky techniques, I’ve got great news for you! This Simple Homemade Sourdough Bread Recipe is exactly what you need to get started without stress and still come away with an incredible loaf every time. I absolutely love how this turns out — the crust has that perfect golden crunch, and the crumb is light and airy, just like bakery bread. Stick with me, and I’ll walk you through every step to help you bake sourdough like a pro, even if this is your first time!
Why You’ll Love This Recipe
- Super approachable: No complicated preferments or dozens of steps, just a straightforward process that yields amazing results.
- Flavor-packed: The slow rise and gentle folding develop wonderful tangy flavors and a perfect crust.
- Flexible timing: Whether you have a full day or just a few hours, this recipe adapts to your schedule and environment.
- Minimal hands-on effort: Just about 25 minutes of active work, so you can relax and let your starter do the magic.

Ingredients You’ll Need
I’ve found that keeping the ingredient list simple and straightforward really helps you focus on technique rather than chasing mystery products. Each one has a role: from bubbly starter that gives life to the dough, to fine sea salt that highlights all those wonderful flavors.
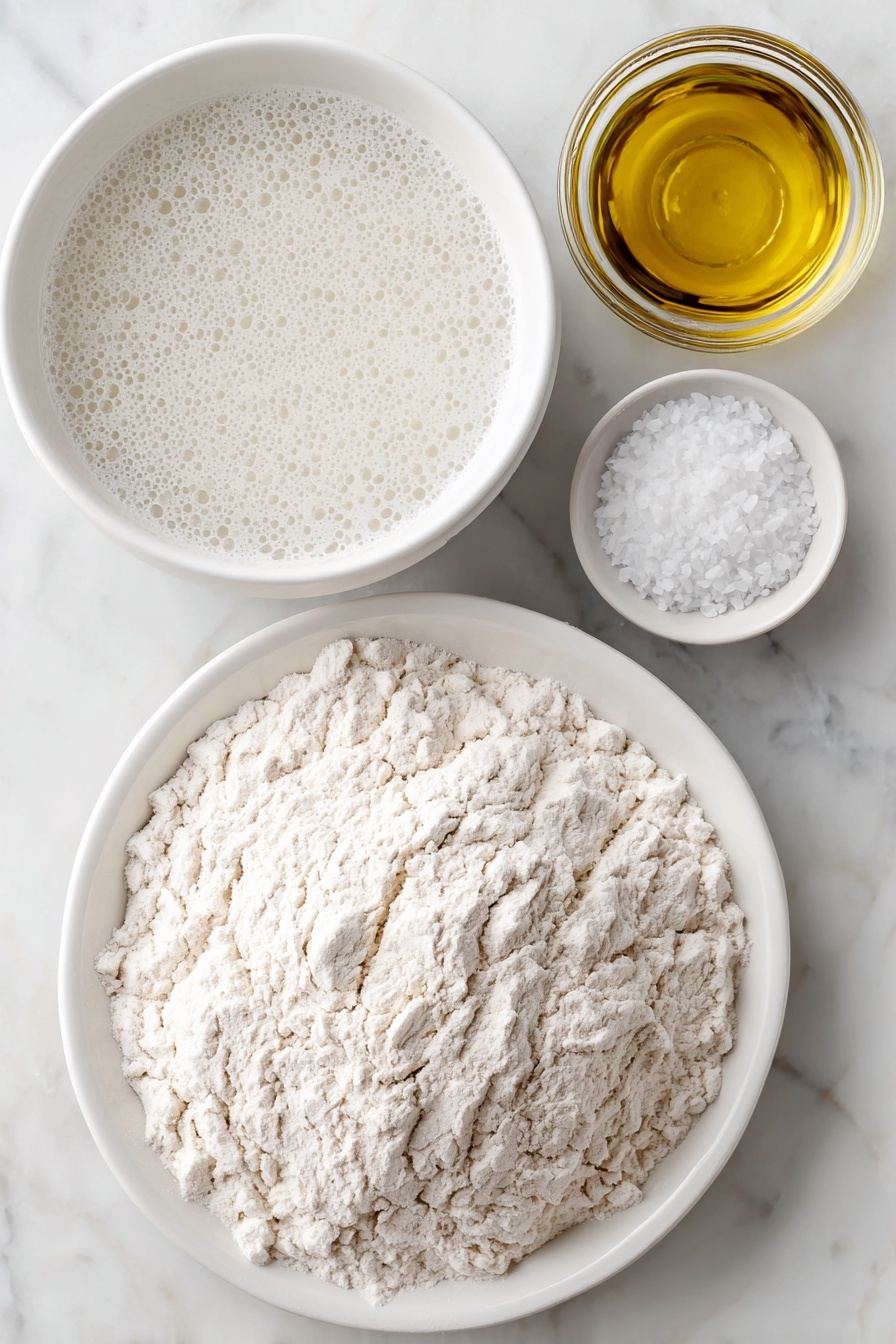
- Active sourdough starter: Your bread’s secret weapon—make sure it’s bubbly and recently fed for best rise.
- Warm water: Helps activate the yeast and mix the dough easily; you can adjust the hydration slightly to suit your flour.
- Bread flour: Provides the ideal protein for that chewy, open crumb—plain all-purpose won’t give quite the same results.
- Fine sea salt: Enhances flavor and controls fermentation; I like using fine sea salt like Baleine, but kosher salt works well too.
Variations
One of the things I adore about this Simple Homemade Sourdough Bread Recipe is how easy you can make it your own. Whether you want to add flavors or tweak it for diet needs, there’s room to experiment without losing that signature sourdough charm.
- Herbs & Cheese: Once, I stirred in some fresh rosemary and shredded cheddar right before the last stretch and fold—my family completely lost their minds over it!
- Whole grain boost: Swap up to 25% of the bread flour for whole wheat or rye for a nuttier flavor and more nutrition. Just add a little water if needed.
- Gluten-free twist: Though this recipe is bread flour-based, experimenting with gluten-free blends and extra hydration can yield tasty sourdough-style bread too.
- Faster rise: Use only 50g of starter if you’re in a warm kitchen and want a shorter fermentation time.
How to Make Simple Homemade Sourdough Bread Recipe
Step 1: Mix Your Starter with Water
Start by whisking your bubbly, active starter into warm water in a large bowl. I use warm but not hot water—think body temperature—to activate the yeast gently. This gets things going without shocking your starter. If your starter isn’t very bubbly, give it a refresh before beginning for the best rise.
Step 2: Combine Flour and Salt into Dough
Next, add your bread flour and fine sea salt to the bowl. Mix it all together with a spatula or your hands to form a rough dough. Don’t worry if it’s shaggy or sticky—that’s totally normal. Cover the dough with a damp towel and let it rest for 30 minutes to hydrate fully. This rest starts gluten development, which means better texture later on.
Step 3: Stretch and Fold for Strength
After this initial rest, it’s time to fold the dough. Grab one corner, gently pull it up, and fold it towards the center. Rotate the bowl and repeat 4 or 5 times. This step builds strength and structure in your dough without kneading—a trick I discovered that makes bread baking less intimidating. Let it rest again for 30 minutes, then repeat the stretch and fold. If you have time, do this two more times, spaced out over 2 hours. Even just one set helps!
Step 4: Bulk Fermentation—Patience Pays Off
Now cover the bowl and leave it to rise at room temperature for about 8 to 10 hours. I check the dough visually—it’s ready when it’s increased by about 50% (not necessarily doubled), shows bubbles on top, and jiggles when you shake the bowl gently. Your kitchen temperature matters a lot here; if it’s warmer, fermentation happens faster. Don’t stress—just keep an eye on those signs!
Step 5: Shape Your Dough Gently
Lightly flour your surface and tip the dough out carefully. Use gentle folds to shape it into a round, building surface tension by folding the edges into the center and turning the dough as you go. If you have a bench scraper, it makes creating that perfect tension easier. Let the dough rest seam side up for 30 minutes—this relaxes it before the final shaping.
Step 6: Final Proof in the Fridge
Line a bowl or proofing basket with a floured towel (I love using rice flour here because it doesn’t burn) and place your shaped dough inside, seam side up. Cover it and pop it in the fridge for at least 1 hour, but I prefer letting it proof for up to 24 hours. This slow, cold proof deepens flavor and improves the crumb. For longer proofing, loosely cover the dough with a produce bag to keep it from drying out.
Step 7: Bake with a Dutch Oven for That Amazing Crust
Preheat your oven to a scorching 550°F (290°C) with a Dutch oven inside—it needs to be super hot! Prepare a piece of parchment to fit inside your pot, then gently flip your dough onto it and score it with a sharp blade or knife—a simple X works wonders. Transfer the dough with the parchment directly into the Dutch oven, cover, and pop it into the oven.
Bake covered for 30 minutes, then remove the lid and lower the temp to 400°F (200°C). Continue baking for another 10 to 15 minutes. If you want an extra crispy crust, you can take the loaf out of the Dutch oven and bake it directly on the oven rack for 5 to 10 minutes more. Once baked, cool the bread on a wire rack for at least an hour before slicing—it’s hard to wait, but it really makes a difference!
Pro Tips for Making Simple Homemade Sourdough Bread Recipe
- Starter Strength: Always use a lively, bubbly starter—if it’s sluggish, feed it twice before baking to ensure your dough rises beautifully.
- Hydration Play: I love pushing the dough’s hydration a bit (adding extra water) for a more open crumb, but if your dough feels too sticky, add a touch more flour.
- Watch the Rise, Not the Clock: Depending on your kitchen’s temp, fermentation times vary—trust your eyes and feel over the timer.
- Be Gentle When Shaping: Handling the dough softly keeps all those precious air bubbles intact and gives you a lighter loaf.
How to Serve Simple Homemade Sourdough Bread Recipe
Garnishes
When I serve this sourdough, I love to spread a little quality butter or whipped honey butter right after slicing—melts into those airy pockets perfectly. A sprinkle of flaky sea salt or some fresh herbs on top makes for a simple but elegant touch that really elevates the flavor.
Side Dishes
This bread is fantastic alongside soups like creamy tomato or French onion, and it’s perfect for lazy weekend brunches with avocado toast toppings or eggs benedict. My family especially enjoys it with a good sharp cheese and a robust red wine for evening snacks.
Creative Ways to Present
For special occasions, I’ve tried arranging slices in a rustic bread basket lined with a linen napkin, or making a sourdough board with housemade dips, olives, and charcuterie. Toast slices and cut into small soldiers for dipping into savory egg yolks—a guaranteed crowd-pleaser!
Make Ahead and Storage
Storing Leftovers
I usually let the loaf cool completely, then store it in a large airtight plastic bag at room temperature. It stays fresh for up to three days. For longer storage, I slice in advance which makes grabbing a piece or two so easy.
Freezing
Freezing is a lifesaver! Wrap the whole loaf or individual slices tightly in plastic wrap, then place in a freezer bag. This bread freezes beautifully without losing its texture or flavor. When you’re ready to eat, just thaw on the counter or toast straight from frozen.
Reheating
For fresh-from-the-oven flavor, I reheat slices in the toaster or oven at 350°F for a few minutes until toasty on the outside and warm inside. To refresh a full loaf, wrap it in foil and heat in a 350°F oven for 10-15 minutes.
FAQs
-
Can I use all-purpose flour instead of bread flour?
While you can use all-purpose flour, bread flour is preferable because it has a higher protein content, which helps develop gluten for a chewier, more open crumb. If you only have all-purpose, it’ll still work but expect a slightly denser loaf.
-
How do I know when my sourdough starter is active enough?
An active starter is bubbly and doubles in size within 4-6 hours of feeding at room temperature. A common test is the float test: drop a spoonful of starter in water—if it floats, it’s ready to be used.
-
Why does my dough sometimes turn out too sticky?
Sticky dough can be due to high hydration or underdeveloped gluten. Try adding a sprinkle more flour if it’s too sticky to handle, and don’t skip those stretch-and-fold steps to strengthen the dough.
-
Can I proof my dough longer than 24 hours in the fridge?
Yes, but longer proofing can lead to an overly fermented taste and potentially weaker structure. If you plan on going over 48 hours, keep a close eye on your dough and consider reducing starter amount next time.
-
Do I have to use a Dutch oven for baking?
A Dutch oven traps steam, essential for developing that crispy crust and oven spring. If you don’t have one, you can bake on a baking stone with a pan of water to create steam, but results may vary.
Final Thoughts
When I first mastered this Simple Homemade Sourdough Bread Recipe, it felt like a little victory every single time. There’s something so satisfying about pulling a golden, bubbling loaf from your oven that you made yourself. Whether you’re baking for family dinners or just because you love fresh bread, this recipe is approachable, forgiving, and genuinely delicious. Give it a try—you might just discover a proud daily bread-baking habit like I did!
Print
Simple Homemade Sourdough Bread Recipe
- Prep Time: 18 hr
- Cook Time: 45 min
- Total Time: 18 hr 45 min
- Yield: 1 loaf
- Category: Bread
- Method: Baking
- Cuisine: French/American Artisan
- Diet: Vegetarian
Description
This homemade sourdough bread recipe guides you step-by-step through creating a crusty, golden loaf with a light, airy crumb using simple ingredients and traditional techniques. With only about 25 minutes of hands-on work and a long, natural fermentation, this recipe yields artisan-quality bread perfectly suited for beginners and seasoned bakers alike. It uses a Dutch oven baking method for excellent oven spring and crust development.
Ingredients
Starter and Liquid
- 50 – 100 g (1/4 – 1/2 cup) bubbly, active sourdough starter (100 g recommended)
- 375 g (1 1/2 cups plus 1 tbsp) warm water, or more as needed
Dry Ingredients
- 500 g (4 cups plus 2 tbsp) bread flour
- 9 to 12 g (1.5 – 2.5 teaspoons) fine sea salt (Baleine Fine brand recommended)
Instructions
- Mix Starter and Water: Whisk the active starter and warm water together in a large bowl using a fork or spatula until combined.
- Add Flour and Salt: Add the bread flour and fine sea salt to the bowl. Mix until combined, finishing by hand if necessary to form a rough dough. Cover with a damp towel and let rest for 30 minutes.
- Stretch and Fold: After resting, stretch a corner of the dough upward and fold it toward the center. Repeat this folding 4 to 5 times around the dough. Let rest another 30 minutes, then repeat the stretch-and-fold. If possible, perform this action two more times for a total of four stretch-and-fold sessions within 2 hours to develop gluten strength.
- Bulk Fermentation: Cover the bowl with a towel and let the dough rise at room temperature (about 70°F/21°C) for 8 to 10 hours or until it increases in volume by 50%, shows bubbles on the surface, and jiggles when the bowl is moved. Timing may vary with temperature and starter amount.
- Pre-shape the Dough: Turn the dough gently onto a lightly floured surface. Fold the top down to the center, turn the dough, and repeat folding around until a round shape forms. Use a bench scraper if available to create surface tension.
- Bench Rest: Let the dough rest seam side up for 30 minutes while you prepare a proofing basket or bowl lined with a floured towel (preferably rice flour).
- Final Shape and Proof: Shape the dough again using the same folding method and place it seam side up in the prepared basket or bowl. Cover and refrigerate for 1 to 48 hours. The recommended proofing time is at least 24 hours for best crumb, but 1 hour also works.
- Preheat Oven and Dutch Oven: Place a Dutch oven inside your oven and preheat to 550°F (290°C). Cut parchment paper to fit the Dutch oven.
- Score and Transfer Dough: Remove the dough from the fridge. Place parchment over it, invert the proofing vessel to release the dough onto the parchment. Use a small knife or razor blade to score the dough surface with your desired pattern, such as a simple “X.”
- Bake Covered: Using the parchment to transfer, place the dough into the preheated Dutch oven. Lower the oven temperature to 450°F (230°C), cover with the lid, and bake for 30 minutes.
- Bake Uncovered: Remove the lid, lower the oven to 400°F (200°C), and bake an additional 10 to 15 minutes uncovered. If needed, transfer the loaf directly onto the oven rack for the last 5 to 10 minutes to crisp the crust further.
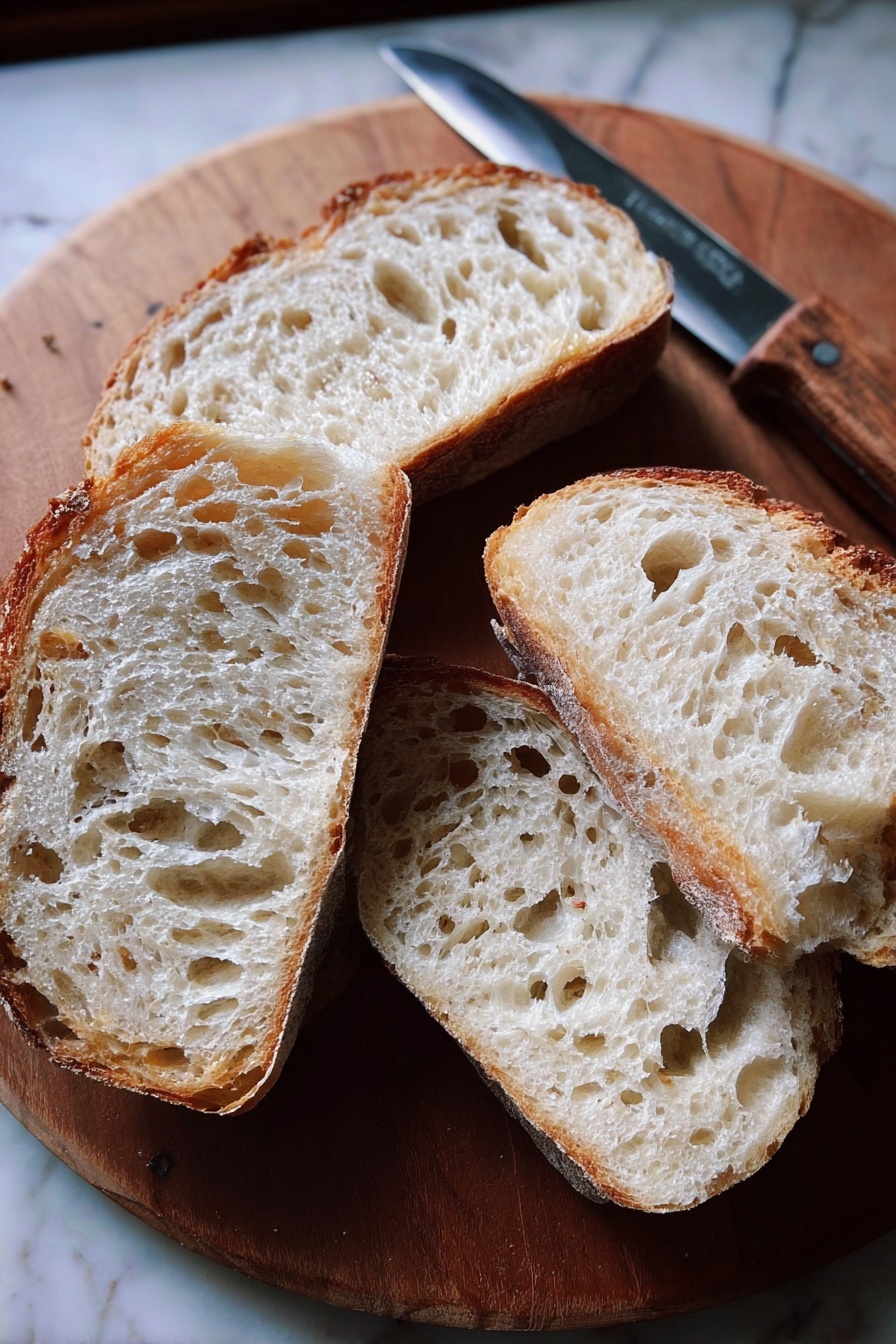
- Cool: Remove the bread and cool completely on a wire rack for 1 hour before slicing to set the crumb and finish baking internally.
- Storage: Store the bread at room temperature in an airtight container or plastic bag for up to 3 days, or freeze for longer storage.
Notes
- This recipe requires an active sourdough starter; reputable sources for starters include King Arthur Flour and Breadtopia.
- A digital scale is highly recommended for accurate measurement of ingredients.
- Flour sack towels and rice flour are ideal for proofing to prevent sticking without burning in the oven.
- Hydration can be adjusted slightly; 380 g water can yield a higher hydration dough for a more open crumb.
- Fine sea salt and kosher salt (Diamond Crystal brand) both work well; use 12 g salt if choosing kosher salt.
- If desiring inclusions like herbs, cheese or jalapeños, add before the third stretch and fold and perform an extra fold to incorporate evenly.
- Bulk fermentation timing depends on starter amount and environment temperature; watch for volume increase and dough jiggle rather than solely relying on time.
- Shaping technique affects crumb openness; shaping a batard instead of a round can open crumb more.
- A Dutch oven is essential for the baking method to trap steam and promote crust formation and oven spring.
Nutrition
- Serving Size: 1 slice (approx. 80 g)
- Calories: 210
- Sugar: 0.1 g
- Sodium: 420 mg
- Fat: 1 g
- Saturated Fat: 0.2 g
- Unsaturated Fat: 0.5 g
- Trans Fat: 0 g
- Carbohydrates: 44 g
- Fiber: 2 g
- Protein: 6 g
- Cholesterol: 0 mg


