I absolutely love sharing this Healthy Breakfast Bars Recipe because it’s such a game-changer for busy mornings. Whether you’re rushing out the door or want a wholesome snack on hand, these bars pack the perfect mix of flavors and nutrition. When I first tried this recipe, I was so impressed by how filling yet light they taste — they really keep me energized through the morning.
You’ll find that making these bars is straightforward and flexible, which is a huge plus in my kitchen. Plus, they store well and travel beautifully, so they’re great for kids’ lunches or a quick bite after early workouts. Trust me, once you try this Healthy Breakfast Bars Recipe, it’ll quickly become a staple in your routine.
Why You’ll Love This Recipe
- Convenience: These bars are perfect for mornings on the go or anytime you need a quick nutrient boost.
- Balanced Nutrition: Packed with wholesome oats, nuts, and natural sweetness, they keep you full without weighing you down.
- Customizable: You can easily swap ingredients based on what you have or your dietary needs.
- Kid-Friendly: My family goes crazy for these, and they’re a sneaky way to add some healthy goodies into their day.

Ingredients You’ll Need
Each ingredient plays a key role in this Healthy Breakfast Bars Recipe, bringing texture, flavor, or wholesome nutrition. When shopping, look for organic oats and fresh nuts if you can — it really makes a difference in taste.
- Rolled oats: The hearty base that gives these bars their chewy texture and fiber.
- Nut butter (like almond or peanut): Adds creaminess and protein, plus keeps the bars wonderfully moist.
- Honey or maple syrup: Natural sweeteners that bind everything while adding just the right hint of sweetness.
- Chopped nuts (walnuts, almonds, or pecans): For crunch and healthy fats.
- Chia seeds or flaxseeds: Small but mighty nutrition boosters loaded with omega-3s.
- Vanilla extract: A subtle flavor enhancer that makes all the ingredients sing together.
- Dried fruit (raisins, cranberries, or apricots): Provides chewiness and natural sweetness—try soaking them first for a softer bite.
- Salt: A pinch really helps balance the flavors.
Variations
One thing I love about this Healthy Breakfast Bars Recipe is how easy it is to customize to your taste or what’s in your pantry. You can tweak sweetness levels or swap nuts like I do, depending on the season or preferences.
- Nut-Free Option: I once made these with sunflower seed butter and omitted nuts for a friend’s allergy—just as delicious and safe!
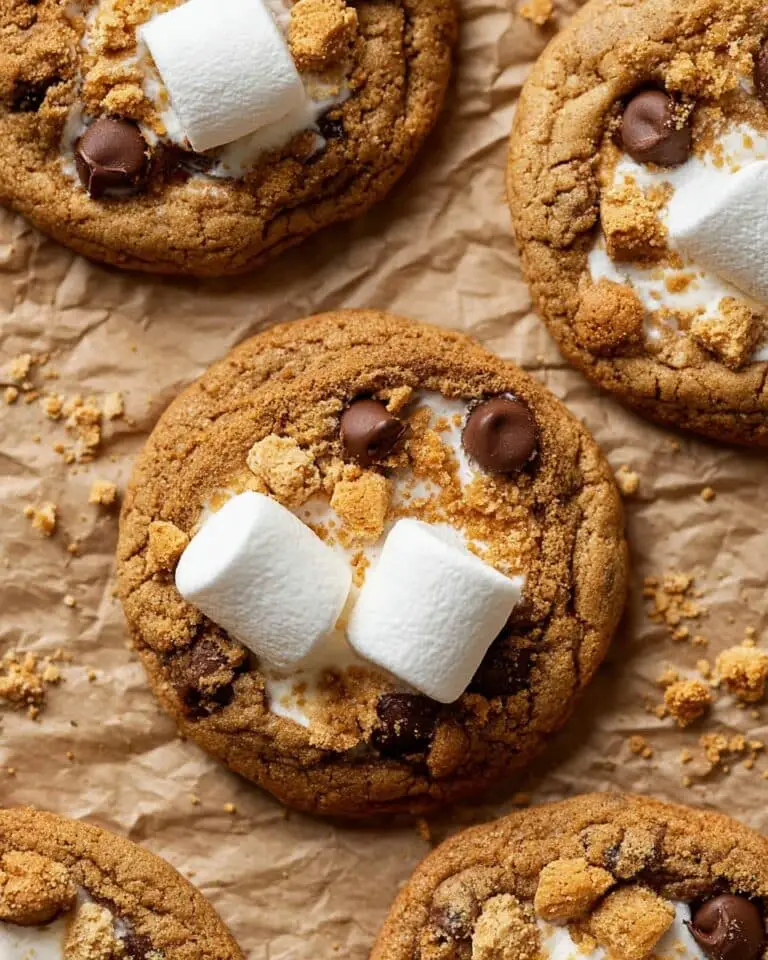
- Chocolate Lovers: Adding a handful of mini dark chocolate chips near the end has been a fan favorite in my household.
- Extra Protein: I sometimes toss in a scoop of your favorite protein powder if I need a stronger morning fuel-up.
- Seasonal Fruit: Swap dried cranberries for chopped dried cherries or even freeze-dried berries for a twist.
How to Make Healthy Breakfast Bars Recipe
Step 1: Get Your Dry Ingredients Ready
Start by preheating your oven and lining a baking pan with parchment paper. Mix the rolled oats, chopped nuts, chia seeds, a pinch of salt, and dried fruit in a large bowl. This preps the bars for that perfect chewy crunch you’re aiming for—don’t skip stirring everything well so the flavors distribute evenly.
Step 2: Blend Your Wet Ingredients
In a separate bowl, whisk together the nut butter, honey or maple syrup, and vanilla extract until smooth. If your nut butter feels too thick, briefly warming it helps everything combine nicely. Pour this over the dry mix and stir until it’s all coated and sticky—this binding is what keeps your bars from falling apart.
Step 3: Press & Bake
Transfer the mixture into your prepared pan and press down firmly—this step is key. When I first made these, I underestimated how tightly to press them, which led to crumbly bars. You want them compacted enough that they hold shape, but not so thick they stay doughy inside. Bake for about 20-25 minutes until the edges are golden and the top feels set.
Step 4: Cool and Slice
Once out of the oven, let your bars cool completely in the pan before slicing. This cooling time lets everything firm up perfectly. If you try to cut them too early, they’ll crumble—trust me, I learned this the hard way! Use a sharp knife and cut into your preferred sized bars.
Pro Tips for Making Healthy Breakfast Bars Recipe
- Press Firmly: Don’t skimp on pressing the mixture into the pan—this ensures bars hold together and slice beautifully.
- Warm Nut Butter: I discovered that warming your nut butter slightly makes mixing so much easier and smoother.
- Use Parchment Paper: It’s a simple trick but saves you from a sticky mess and helps lift the bars out cleanly.
- Don’t Cut Too Soon: Patience pays off—allow your bars to fully cool before slicing to avoid crumbling.
How to Serve Healthy Breakfast Bars Recipe
Garnishes
I often sprinkle a little sea salt on top right after baking for that delightful sweet-salty contrast. Sometimes, a light drizzle of melted dark chocolate or nut butter on each bar makes them feel indulgent without overpowering the healthy vibe.
Side Dishes
Pair these bars with a fresh fruit salad or a spoonful of Greek yogurt for extra protein and creaminess. A hot cup of tea or coffee rounds out the breakfast beautifully, especially on cool mornings.
Creative Ways to Present
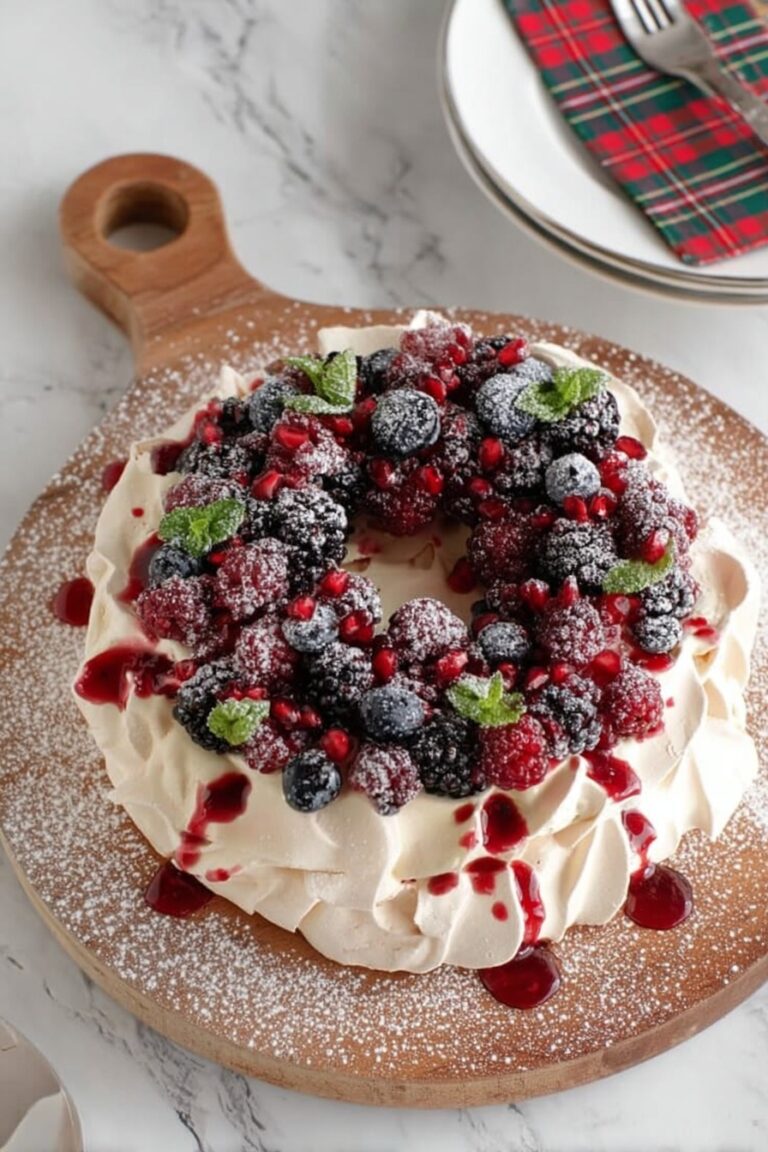
For gatherings, I love arranging the bars on a wooden board with bowls of nut butters, fresh berries, and yogurt. It makes for a vibrant, inviting breakfast spread that gets compliments every time.
Make Ahead and Storage
Storing Leftovers
I keep my bars in an airtight container at room temperature for up to a week. This keeps them fresh and chewy, plus it’s just so easy to grab one whenever hunger strikes.
Freezing
Whenever I make a big batch, I slice some bars and freeze them individually wrapped in parchment and foil. They thaw quickly and taste just as good, making mornings even less stressful.
Reheating
I usually eat these cold or at room temp, but if you want them warm, just microwave for 15-20 seconds or pop them in a toaster oven to restore a bit of that fresh-baked feel.
FAQs
-
Can I make this Healthy Breakfast Bars Recipe gluten-free?
Absolutely! Just be sure to use certified gluten-free rolled oats and double-check that your mix-ins don’t contain gluten. The recipe is very adaptable and gluten-free oats work just as well.
-
How long do homemade breakfast bars last?
Stored in an airtight container at room temperature, these bars last about 5 to 7 days, depending on your ingredient freshness. For longer storage, freezing is your best bet.
-
Can I use other nut butters in this recipe?
Yes! Peanut butter, almond butter, cashew butter, or even sunflower seed butter all work wonderfully. Each will slightly change the flavor profile, so feel free to experiment.
-
Do I need to soak the dried fruit?
Soaking dried fruit in warm water or juice for about 10 minutes softens it, which can make your bars chewier and less dry, but it’s optional depending on your texture preference.
Final Thoughts
I can’t recommend this Healthy Breakfast Bars Recipe enough for anyone who wants a delicious, nutritious, and easy-to-make morning staple. It’s become a go-to in my family, especially on hectic weekdays when time is short but I still want something wholesome. Give it a try—I’m confident you’ll love having these bars ready in your fridge or freezer, making breakfasts (or snacks) a breeze!
Print
Healthy Breakfast Bars Recipe
- Prep Time: 30 minutes
- Cook Time: 3 hours 30 minutes
- Total Time: 4 hours 0 minutes
- Yield: 14 servings (assuming 15-pound turkey)
- Category: Main Course
- Method: Roasting
- Cuisine: American
Description
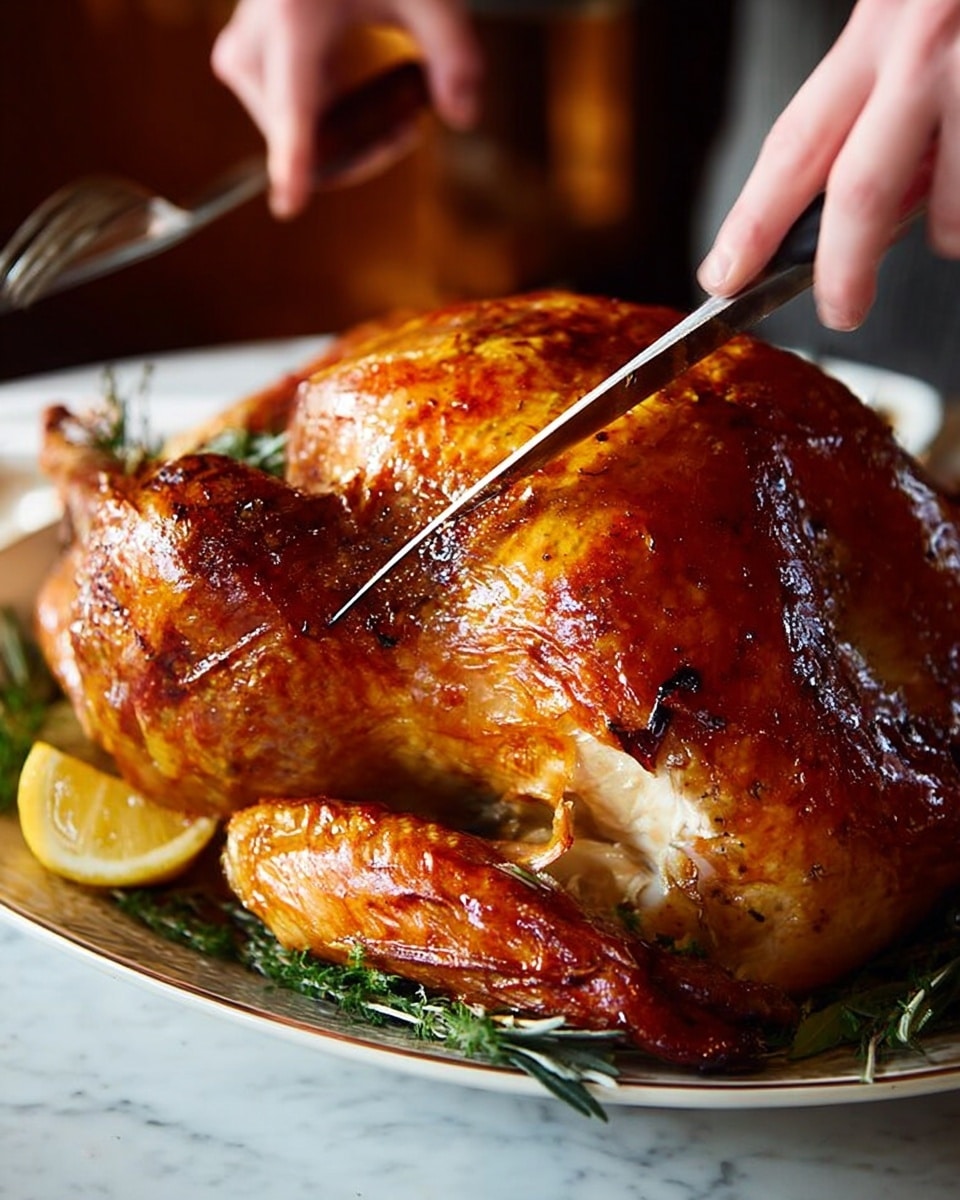
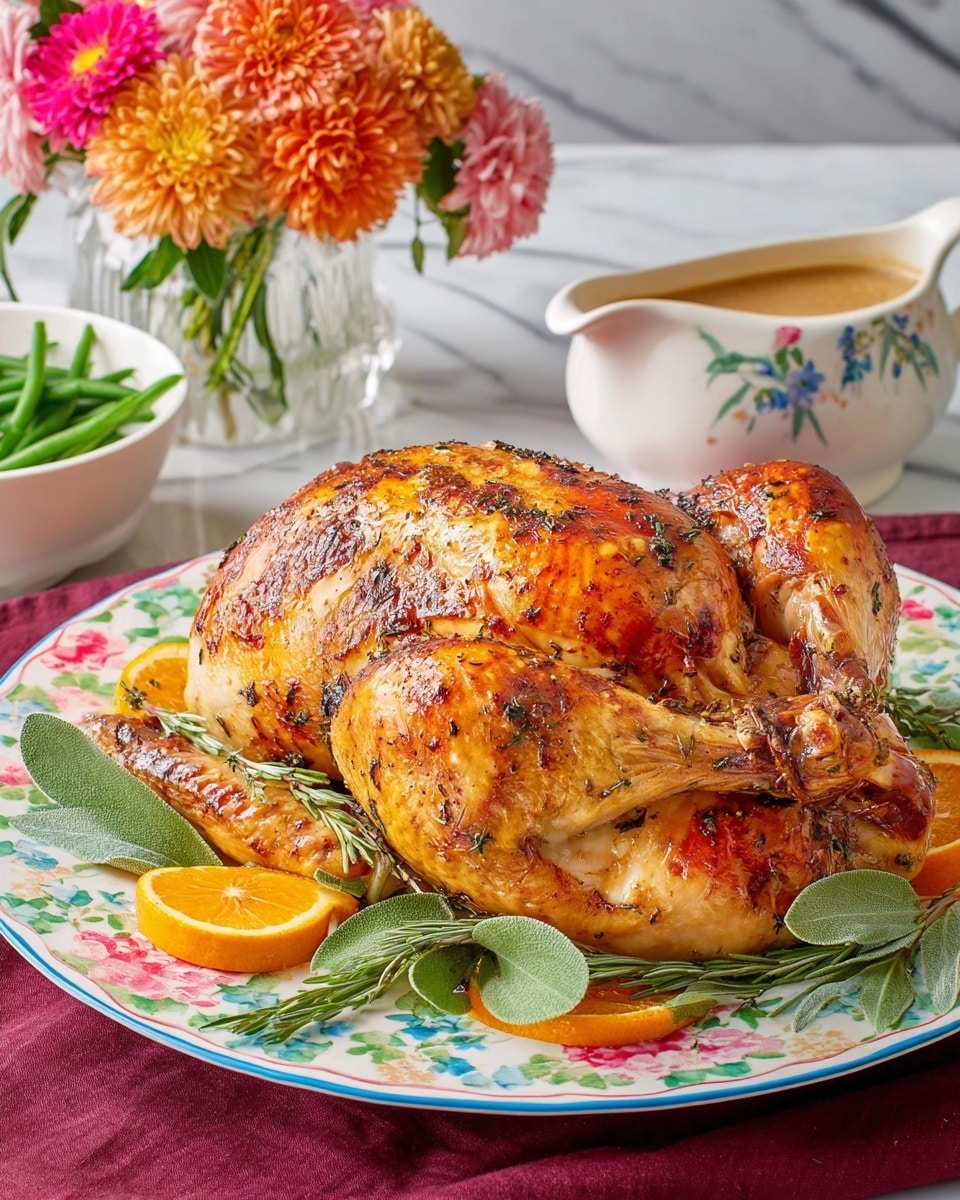
This recipe delivers the best roasted turkey with incredible flavor, tender meat, and crispy golden-brown skin. It features a butter-infused turkey enhanced by fresh herbs and aromatic vegetables, perfectly roasted for a classic Thanksgiving centerpiece. The process includes brining, air-drying, and roasting, resulting in juicy, succulent meat and a rich pan drippings base for gravy.
Ingredients
Turkey and Vegetables
- 1 (12 to 20 pound) turkey, thawed, brined (recommended), and trussed
- 1 large onion, cut into eight wedges
- 2 carrots, roughly chopped
- 2 celery stalks, roughly chopped
- 5 cloves garlic, smashed
- 8 fresh thyme sprigs
- 4 sage leaves
- 2 quarts chicken stock (8 cups or 1.8L)
Turkey Butter
- 1 pound salted butter, softened (460g)
- 1 teaspoon fine sea salt
- 1 tablespoon coarse ground pepper (5g)
- 1 teaspoon Worcestershire sauce or Pickapepper sauce
- 3 cloves garlic, smashed
- 1 lemon, zested and juiced
- ½ cup parsley leaves (14g)
- ¼ cup sage leaves (7g)
- 2 tablespoons fresh thyme leaves (5g)
Instructions
- Prepare the Turkey: Begin with a thawed, brined, and trussed turkey. Ensure it is fully dried by air-drying in the refrigerator overnight to enhance the skin’s crispiness during roasting.
- Make Turkey Butter: Combine softened salted butter with sea salt, coarse ground pepper, Worcestershire sauce, smashed garlic cloves, lemon zest and juice, and freshly chopped parsley, sage, and thyme leaves. Mix thoroughly to create a fragrant herb butter.
- Apply Turkey Butter: Gently loosen the turkey skin and smear the prepared herb butter evenly under and over the turkey skin, coating the meat thoroughly for maximum flavor and moisture retention.
- Prepare Roasting Pan: Place the onion wedges, chopped carrots, celery stalks, smashed garlic cloves, fresh thyme sprigs, and sage leaves in a large roasting pan to create an aromatic bed for the turkey.
- Roast the Turkey: Set the turkey atop the vegetable bed in the roasting pan. Pour the chicken stock around the vegetables to keep the environment moist. Roast the turkey in a preheated oven at 325°F (163°C) for approximately 3 hours and 30 minutes, or until the internal temperature reaches 165°F (74°C) in the thickest part of the thigh.
- Rest the Turkey: Once roasted, remove the turkey from the oven and tent it loosely with aluminum foil. Let it rest for 20-30 minutes to allow juices to redistribute and ensure moist meat.
- Make Gravy (optional): Use the pan drippings and roasted vegetables to make a flavorful gravy to serve alongside your turkey.
Notes
- Brining and air-drying your turkey before roasting significantly improves flavor, moisture, and skin crispiness.
- Trussing helps the turkey cook evenly and maintain a beautiful shape.
- Air-drying the turkey in the fridge overnight is highly recommended for a golden brown, crispy skin.
- You can enhance your meal with a rich gravy made from the pan drippings after roasting.
- Use a reliable meat thermometer to ensure proper doneness and avoid undercooking.
Nutrition
- Serving Size: 1/14 of a 15-pound turkey
- Calories: 539
- Sugar: 0.8g
- Sodium: 709.8mg
- Fat: 21.7g
- Saturated Fat: 11g
- Unsaturated Fat: 10.7g
- Trans Fat: 0g
- Carbohydrates: 2.9g
- Fiber: 0.6g
- Protein: 81.3g
- Cholesterol: 278.3mg


