Hey there! If you’ve been hunting for a crowd-pleasing treat that’s as fun to make as it is to eat, you’re in for a treat with this Coconut Cookies Recipe. I absolutely love how these cookies turn out—crispy on the edges, tender inside, with that irresistible tropical coconut flavor that just brightens up your day. Stick around, and I’ll share all my best tips to make sure your batch comes out perfect every time.
Why You’ll Love This Recipe
- Simple Ingredients: You won’t have to hunt high and low for anything unusual—everything’s probably already in your pantry.
- Perfect Texture: Crispy on the edges and chewy in the center—a texture combo that’s hard to beat.
- Easy to Customize: You can add nuts, chocolate chips, or even a little zest for a personal touch.
- Family Favorite: These cookies always bring back great memories, and my family goes crazy every time I make them.
Ingredients You’ll Need
We’re keeping things straightforward with this Coconut Cookies Recipe. The ingredients work in harmony to create that classic coconut flavor and perfect texture you want. When shopping, opt for unsweetened shredded coconut for better control over sweetness.
- Shredded Coconut: I like using unsweetened shredded coconut for a natural, nutty flavor that isn’t too sweet.
- All-purpose Flour: Provides structure while keeping the cookies tender.
- Butter: Use unsalted for better control on salt; it adds richness and helps with that crisp edge.
- Sugar: A mix of granulated and brown sugar works beautifully—brown sugar adds moisture and depth.
- Egg: Binds everything together and adds moisture.
- Baking Soda: A little lift for those perfectly chewy cookies.
- Vanilla Extract: Simply a must—it enhances all the other flavors.
- Salt: Balances the sweetness and boosts flavor.
Variations
I love to tweak this Coconut Cookies Recipe depending on my mood or what I have in the kitchen. Don’t be afraid to make this recipe your own—it’s super flexible and will reward your creativity.
- Add-ins: Chocolate chips or chopped macadamia nuts? Yes and yes! I’ve found that these add just the right amount of indulgence and crunch.
- Gluten-Free Version: Swap the flour for a gluten-free blend—just make sure it includes xanthan gum for structure. Trust me, I tried this out for a friend and no one could tell the difference!
- Vegan Twist: Use coconut oil in place of butter and a flax egg instead of a real egg—this keeps the coconut vibe strong and satisfies vegan cravings.
- Extra Chewy: If you’re someone who loves chewy cookies, try adding a tablespoon of honey or maple syrup with your sugar—it adds moisture and extra chew.
How to Make Coconut Cookies Recipe
Step 1: Cream the Butter and Sugars
Start by beating your butter with both sugars until the mixture looks light and fluffy—this usually takes about 3 to 4 minutes on medium speed. I learned the hard way that this step really makes a difference in texture; rushing it results in denser cookies, and nobody wants that.
Step 2: Mix in Wet Ingredients
Next, add your egg and vanilla extract, beating until everything is combined and smooth. Make sure not to overbeat here; just incorporate to keep the batter tender.
Step 3: Combine Dry Ingredients
In a separate bowl, whisk together the flour, baking soda, and salt. Then, slowly add this to the wet mixture, stirring just until the flour disappears—over-mixing will make your cookies tough.
Step 4: Fold in the Coconut
Gently fold in the shredded coconut with a spatula. This is where all that delicious coconut goodness shines, so enjoy that gorgeous texture as you mix.
Step 5: Chill and Scoop
I like to chill my dough for at least 30 minutes—this helps the cookies hold their shape and intensifies the coconut flavor. Once chilled, scoop out tablespoon-sized balls and place them on a baking sheet lined with parchment.
Step 6: Bake to Perfection
Bake in a preheated 350°F oven for 10-12 minutes, watching closely for those edges to turn golden brown while the centers stay soft. I always remind myself to pull them out at just the right time—they continue to cook a bit on the hot baking sheet!
Pro Tips for Making Coconut Cookies Recipe
- Use Fresh Coconut: I’ve noticed freshly shredded coconut gives a moister, more pronounced flavor than dried versions.
- Chilling Matters: Don’t skip the chilling step—it helps the cookies from spreading too much and keeps the texture just right.
- Watch Your Oven: Every oven is a little different; keep an eye starting at 10 minutes to avoid overbaking.
- Storage Technique: Store in an airtight container at room temperature for up to 4 days; I learned this after a batch went stale too quickly.
How to Serve Coconut Cookies Recipe

Garnishes
I like to sprinkle a little flaky sea salt on some of the cookies right after baking—it creates a delightful sweet-salty contrast that’s so addicting. A dusting of powdered sugar also adds a pretty touch for gifting.
Side Dishes
These cookies are fantastic with a cup of hot coffee or tea. For a tropical vibe, pair them with a chilled coconut milk latte or even a fresh fruit salad for a light finish to any meal.
Creative Ways to Present
For special occasions, I like stacking these cookies in a glass jar layered with toasted coconut flakes or wrapping small stacks with pretty ribbons for neighbor gifts. They also shine on dessert platters alongside tropical-inspired treats.
Make Ahead and Storage
Storing Leftovers
When you have leftovers (which you probably will!), keep them in an airtight container at room temperature. I usually place a piece of parchment paper between layers to prevent sticking—this method keeps them fresh and delicious for up to 4 days.
Freezing
Freezing these cookies works wonderfully! I like to freeze them on a baking sheet first so they don’t stick together, then transfer to a freezer-safe container. They keep well for about 2 months, and thaw beautifully without losing their texture.
Reheating
Reheating is simple: pop a cookie in the microwave for about 10 seconds to revive that fresh-baked warmth, or warm them in a low oven for a few minutes. I find warming enhances the coconut aroma and makes the texture extra chewy.
FAQs
-
Can I use sweetened shredded coconut instead of unsweetened?
Absolutely! Just keep in mind sweetened coconut will make the cookies sweeter, so you might want to reduce the sugar a bit depending on your taste.
-
How can I make these cookies gluten-free?
Swap the all-purpose flour with a gluten-free flour blend that contains xanthan gum for best results. The texture will be a little different but still delicious.
-
Can I store the dough before baking?
Yes! The dough can be refrigerated for up to 48 hours before baking. Chilling actually helps develop the flavors and keeps the cookies from spreading too much.
-
What’s the best way to prevent cookies from sticking to the pan?
Line your baking sheet with parchment paper or a silicone baking mat—that’ll ensure easy release and even baking every batch.
Final Thoughts
I hope you’ll give this Coconut Cookies Recipe a try the next time you want something comforting and unique. They’ve been a go-to in my kitchen for years and never fail to bring smiles and happy cravings. Trust me, once you taste them fresh out of the oven, you’ll know why they’re special. So grab your mixing bowl and let’s make some coconut magic together!
Print
Coconut Cookies Recipe
- Prep Time: 1 hr
- Cook Time: 30 min
- Total Time: 1 hr 30 min
- Yield: 24 cake pops
- Category: Dessert
- Method: Baking
- Cuisine: American
Description
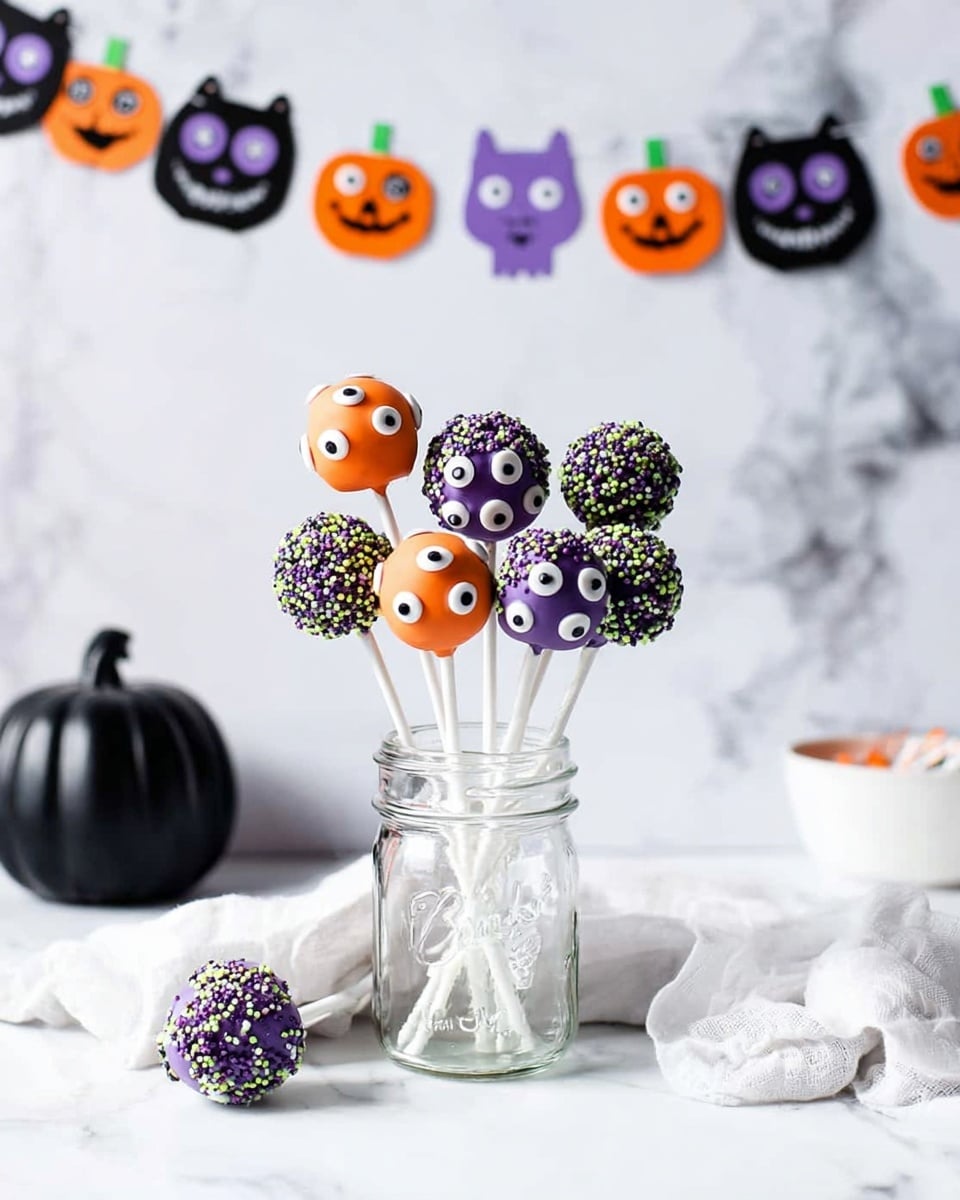
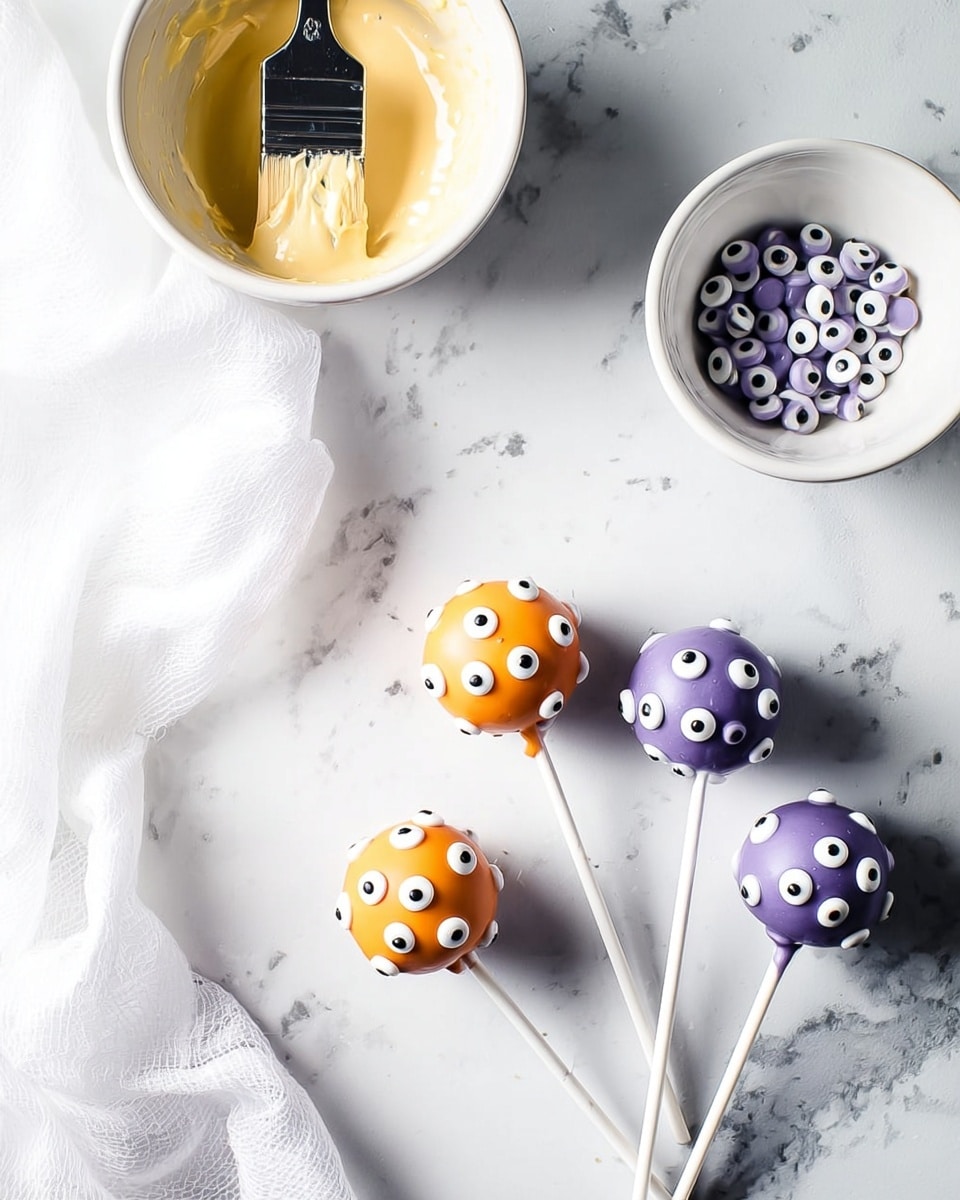
These Monster Cake Pops are a fun and festive treat perfect for Halloween or any spooky celebration. Moist chocolate cake crumbled and mixed with frosting, then shaped into balls and dipped in colorful candy melts, decorated with royal icing eyes to create adorable monster faces. An enjoyable hands-on dessert that delights both kids and adults.
Ingredients
For the Cake
- 1/2 cup water
- 1 oz semi-sweet chocolate chips
- 1 egg
- 1/4 cup vegetable oil
- 1 cup granulated sugar
- 1/2 cup milk
- 2 oz baking cocoa
- 3/4 cup flour
- 1 tsp baking soda
For the Cake Pops
- 1-3 tbsp frosting
- 1 lb candy melts in assorted colors
- Royal icing eyes (store bought or homemade)
- Lollipop sticks
Instructions
- Preheat and Prepare: Preheat your oven to 350°F and line a 9-inch round cake pan with parchment paper to prevent sticking.
- Melt Chocolate: In a small bowl, combine the semi-sweet chocolate chips with boiling water. Stir continuously until the chocolate has fully melted into a smooth mixture.
- Mix Wet Ingredients: In a large bowl, beat the egg until it becomes light and frothy. Add the vegetable oil and continue mixing until well combined.
- Combine Dry and Wet Mixtures: Whisk in the granulated sugar, flour, baking cocoa, baking soda, and the melted chocolate mixture along with the milk into the wet ingredients until smooth and well incorporated.
- Bake the Cake: Pour the batter into the prepared cake pan. Bake for 25 to 30 minutes, or until a toothpick inserted into the center comes out clean.
- Crumble the Cake: Allow the cake to cool, then crumble it into a large bowl to prepare for forming cake pops.
- Add Frosting: Mix in 1 to 3 tablespoons of frosting gradually, combining until the texture is moist and holds together without being sticky.
- Form Cake Balls: Roll the mixture into quarter-sized balls and place them evenly spaced on a cookie sheet lined with parchment paper.
- Prepare Candy Coating: Using a double boiler, melt the first color of candy melts until smooth.
- Attach Lollipop Sticks: Dip the tip of each lollipop stick into the melted candy and insert halfway into each cake ball to secure the stick.
- Chill Cake Pops: Place the cake pops in the freezer for a few minutes to firm up the chocolate and set the sticks firmly into the cake balls.
- Dip Cake Pops: Remove cake pops from the freezer and dip each one fully into the melted candy coating. Turn to ensure even coverage and let excess drip off.
- Decorate: Before the candy coating hardens, add royal icing eyes onto each cake pop using tweezers for precision placement to create the monster faces.
- Repeat: Repeat the melting, dipping, and decorating process with additional colors of candy melts to create a colorful assortment of monster cake pops.
Notes
- Delight ghouls big and small with these easy Halloween cake pops!
- Use a double boiler or microwave with caution to melt candy melts smoothly.
- Adjust frosting quantity to achieve the perfect consistency for rolling cake balls.
- For vibrant eyes, use royal icing or edible candy eyes from craft stores.
- Store finished cake pops in an airtight container at room temperature or refrigerated for up to 3 days.
Nutrition
- Serving Size: 1 cake pop
- Calories: 182
- Sugar: 21.4g
- Sodium: 77mg
- Fat: 9.5g
- Saturated Fat: 4.2g
- Unsaturated Fat: 5.3g
- Trans Fat: 0g
- Carbohydrates: 23.7g
- Fiber: 0.6g
- Protein: 2.2g
- Cholesterol: 12mg

