If you’re looking for a festive and fun Halloween treat that’s as delightful to make as it is to eat, you’re going to love this Candy Corn Cakes and Cake Tutorial Recipe. These adorable mini layer cakes capture the spirit of candy corn in every bite, and trust me, they’re a total crowd-pleaser. Whether you’re baking for a Halloween party or just craving a cheerful dessert, this recipe will walk you through creating those perfect, sweet little towers.
Why You’ll Love This Recipe
- Colorful and Festive: These cakes look just like candy corn, making them perfect for Halloween celebrations.
- Simple to Make: I love how this recipe uses a basic cake mix with a few tricks, so it’s easy even if baking isn’t your forte.
- Customizable Frosting: The creamy frosting is silky smooth and you can adjust thickness to your liking.
- Great for Parties: These mini cakes are bite-sized and perfect for serving to a crowd or gifting neighbors.

Ingredients You’ll Need
For these charming Candy Corn Cakes and Cake Tutorial Recipe, you’ll find that basic pantry staples combined with a few fun touches create magic. I always recommend grabbing a good-quality white cake mix and vibrant food coloring to get those classic candy corn hues just right.
- White cake mix: The foundation of your cake—choose a brand you trust for best flavor and texture.
- Yellow food coloring: Use gel or paste to get a bright, sunny shade without thinning the batter.
- Red food coloring: A little goes a long way; this will add that signature candy corn orange when mixed with yellow.
- Butter (softened): Adds richness and helps with frosting texture—make sure it’s softened to room temp for easy mixing.
- Powdered sugar: The key to a smooth, sweet frosting that holds up well between cake layers.
- Pure vanilla extract: Provides depth and warmth to the frosting’s flavor.
- Whipping cream or half and half: Use just enough to thin the frosting to your desired consistency.
Variations
I always love playing with this Candy Corn Cakes and Cake Tutorial Recipe to suit the occasion or dietary needs. Feel free to tweak the frosting or colors depending on your preferences — that’s part of the fun!
- Gluten-Free Version: I swapped the white cake mix for my favorite gluten-free blend once, and it turned out just as fluffy and moist.
- Vegan Adaptation: Using plant-based butter and a vegan cake mix works well, though I like to add a touch of almond extract to the frosting for extra flavor.
- Flavor Twists: Once, I added a bit of orange zest into the batter—totally elevated the candy corn theme with a fresh citrus punch.
- Food Coloring Alternatives: Natural food colorings from beet juice or turmeric can create fun versions without artificial dyes.
How to Make Candy Corn Cakes and Cake Tutorial Recipe
Step 1: Mixing the Batter Just Right
Start by mixing the white cake mix exactly according to the instructions on the box. This is your blank canvas, so getting this right is key. When I first tried this recipe, I made the mistake of rushing through and ended up with dense cake layers—the quality of the batter really impacts the final texture, so take your time here.
Step 2: Dividing and Coloring Your Batter
Once your batter is ready, divide it evenly into four bowls. I like to keep one bowl plain white, then color the others using the yellow and red food coloring to replicate candy corn’s classic tri-color look. Pro tip: mix red and yellow in varying amounts to create that perfect orange without going too bright or muddy.
Step 3: Preparing Pans and Baking
Grease and flour four cake pans, then line them with wax paper circles to make removing the cakes easier. Pour each colored batter into its pan. Here’s what I learned the hard way: bake the cakes for only about half the recommended time on the box – these layers are meant to be thin and delicate, so watch closely to prevent overbaking!
Step 4: Cutting and Assembling Your Candy Corn Cakes
After the cakes have cooled, use a biscuit cutter or the bottom of a glass to cut out perfect circles. If any layers are uneven, a serrated knife will help you level them with ease. Stack the layers in the right color order—white on top, orange middle, and yellow at the bottom—to recreate the candy corn look. Slather on that creamy vanilla frosting between each layer, taking care to keep things neat.
Step 5: Final Touches and Serving
Once assembled, chill the cakes a bit so the frosting sets just right. This little step helps keep everything in place when you serve. I love how these mini cakes turn out — they’re almost too cute to eat, but trust me, every bite’s worth it!
Pro Tips for Making Candy Corn Cakes and Cake Tutorial Recipe
- Use Gel Food Coloring: I switched to gel coloring after ruining some batter once with too much liquid color – it helped keep the texture perfect.
- Cut Circles While Warm: I found the cake slices cut cleaner if I cut them when slightly warm rather than fully chilled.
- Thin Your Frosting Gradually: Add the cream a little at a time until you reach the ideal spreadability—too thin and it won’t hold, too thick and it’s tough to work with.
- Don’t Skip Wax Paper: I learned this late into baking—lining pans with wax paper keeps layers intact without sticking.
How to Serve Candy Corn Cakes and Cake Tutorial Recipe
Garnishes
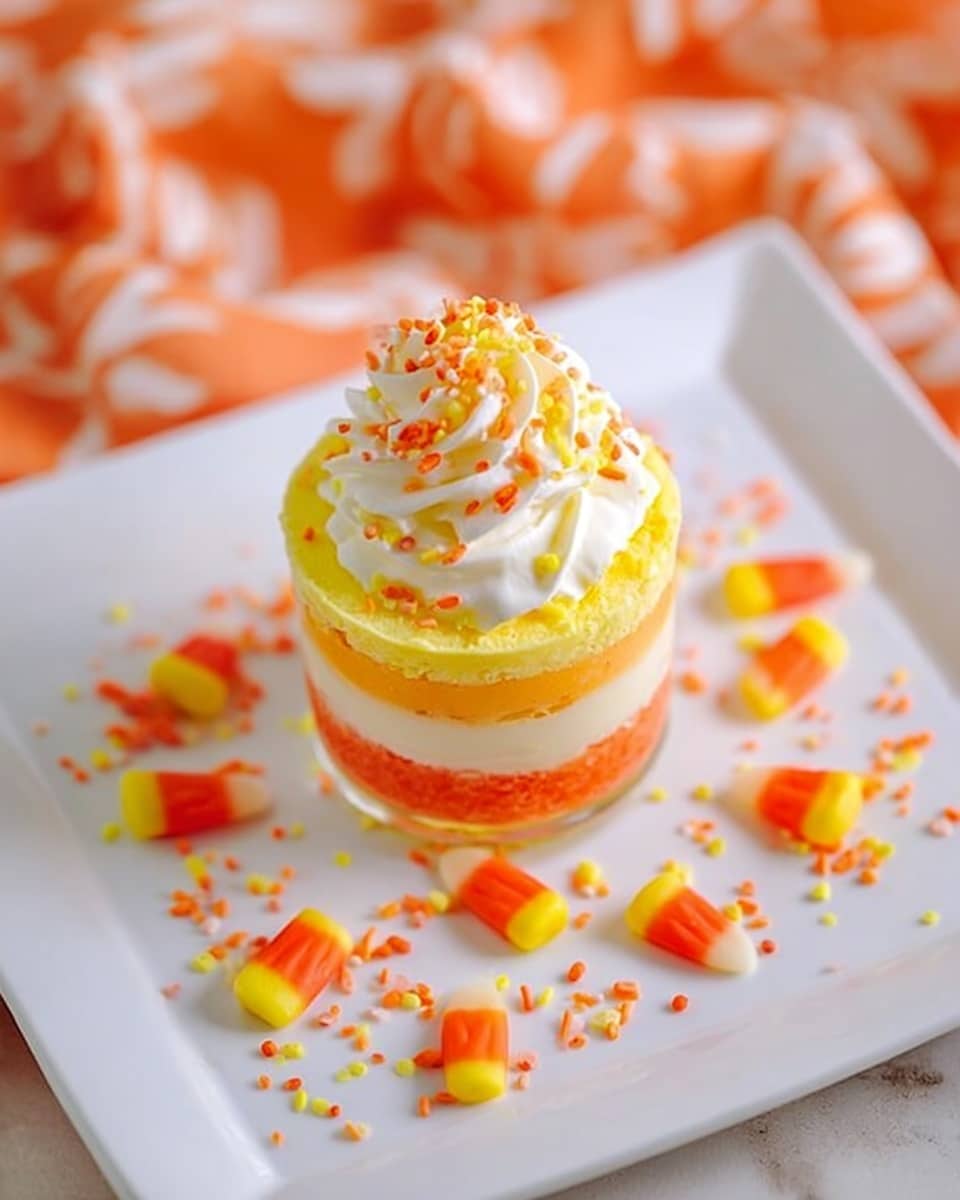
I love topping these little cakes with a light dusting of edible glitter or a few candy sprinkles for extra festivity. A tiny candy corn on top always gets a wow from guests, and I find it’s a charming visual cue to what’s inside.
Side Dishes
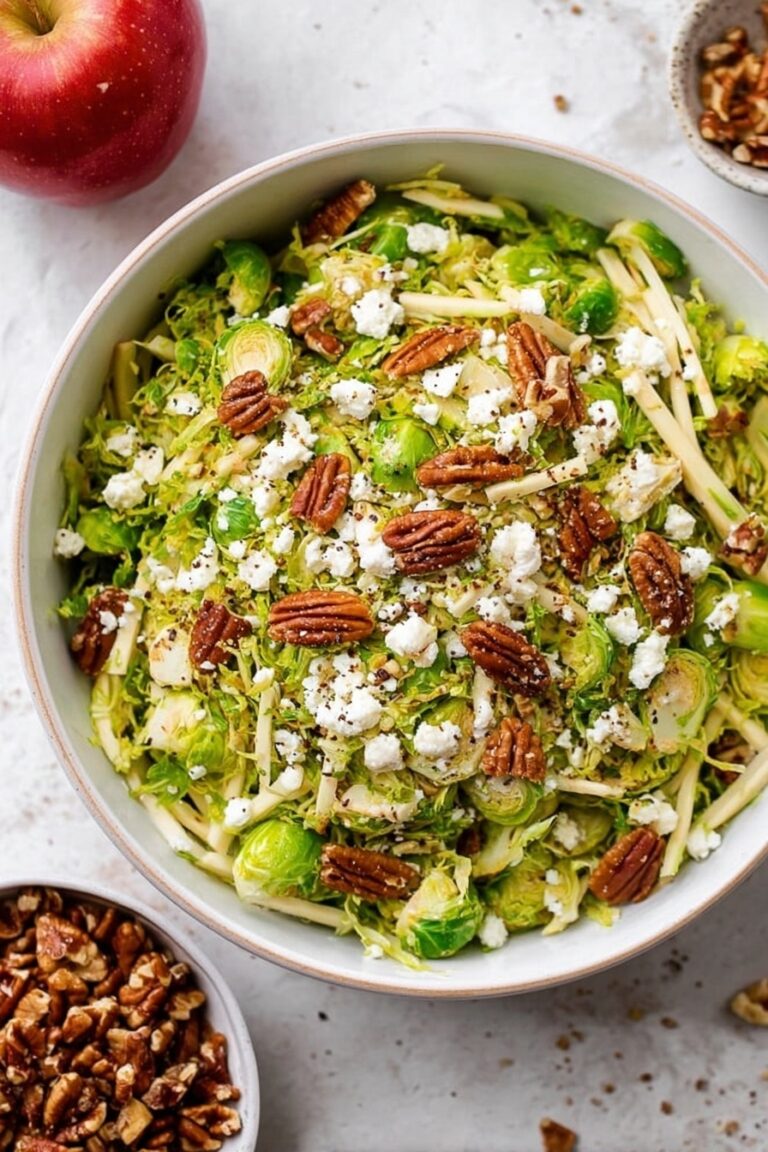
Since these are mini treats, I usually serve them alongside a warm cup of apple cider or rich hot chocolate for a cozy touch. For larger Halloween gatherings, they pair wonderfully with a simple pumpkin soup or caramel popcorn.
Creative Ways to Present
One year, I stacked these cakes on a tiered cake stand surrounded by fall leaves and mini pumpkins—such a showstopper! You can also place them in clear cellophane bags tied with colorful ribbons for easy party favors or gifts.
Make Ahead and Storage
Storing Leftovers
I store any leftover Candy Corn Cakes in an airtight container in the refrigerator. They stay fresh for about 3 days, but to be honest, they rarely last that long in my house—everyone’s eager for seconds!
Freezing
If you want to freeze these, wrap each mini cake tightly in plastic wrap and place them in a freezer-safe container. I’ve done this when prepping for a party and thawed them overnight in the fridge—the texture holds up really well.
Reheating
I generally let the cakes come to room temperature before serving. If you’re in a hurry, a quick 10-15 second zap in the microwave works, but be careful not to melt the frosting completely.
FAQs
-
Can I use homemade cake batter instead of a mix for the Candy Corn Cakes and Cake Tutorial Recipe?
Absolutely! You can use your favorite homemade white cake recipe. Just make sure the batter is thick enough to hold the layers without running. Keep an eye on baking time since homemade batter can bake faster or slower than mixes.
-
How do I prevent the colors from bleeding between cake layers?
Let each cake layer cool completely before cutting and stacking. Also, keep your frosting chilled and spread it evenly but not too thin to help act as a barrier. Chilling the whole assembled cake before serving helps maintain clean edges.
-
Can I make these cakes in advance for a party?
Yes! You can bake and assemble the cakes up to a day in advance. Store them covered in the refrigerator and remove them about 30 minutes before serving so they soften slightly.
-
What should I use to color the batter without affecting taste?
I recommend gel food coloring because it’s concentrated and won’t change the batter’s texture or flavor. Avoid liquid food colorings that can thin the batter and dull colors.
Final Thoughts
This Candy Corn Cakes and Cake Tutorial Recipe holds a special place in my heart—it’s simple, festive, and always brings smiles at Halloween. I remember the first time I made them, how proud I felt seeing those colorful layers come together so perfectly. I can’t wait for you to give this a try and make your own little candy corn creations. Trust me, once you do, your friends and family will be begging for these mini cake towers year after year!
Print
Candy Corn Cakes and Cake Tutorial Recipe
- Prep Time: 20 minutes
- Cook Time: 20 minutes
- Total Time: 70 minutes
- Yield: 5 cakes, serves 5
- Category: Dessert
- Method: Baking
- Cuisine: American
Description
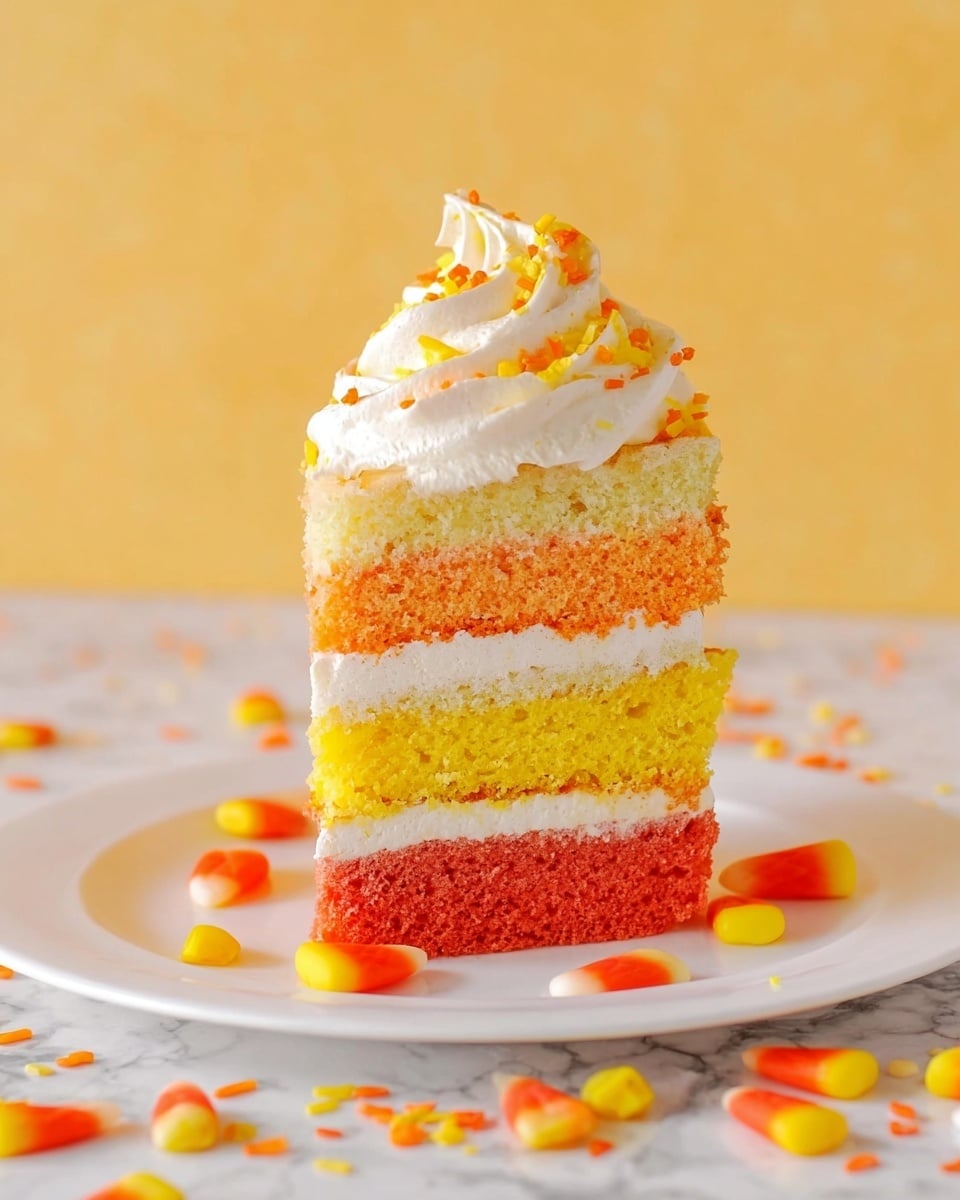
Candy Corn Cakes are whimsical mini cake towers designed to resemble the iconic Halloween candy corn. These colorful layered cakes feature white, yellow, and red tinted cake batter, baked and stacked with a creamy buttercream frosting to create a festive and fun party treat perfect for Halloween celebrations.
Ingredients
Cake Batter
- 1 white cake mix and ingredients listed on back of box
- Yellow food coloring
- Red food coloring
Frosting
- 1 1/2 sticks butter (softened)
- 1 lb. powdered sugar
- 1 tsp pure vanilla extract
- Whipping cream or half-and-half – enough to thin frosting to desired consistency
Instructions
- Prepare the batter: Mix the white cake mix according to the directions listed on the back of the box to create the base batter.
- Divide and color the batter: Divide the batter evenly into four bowls. Leave one bowl plain (white) and tint the other three bowls using yellow and red food coloring to create three distinct colors mimicking candy corn hues.
- Prepare pans: Grease, flour, and line four cake pans with wax paper to ensure easy removal of cakes after baking.
- Bake the cakes: Pour each colored batter into its respective pan and bake them for half the time specified on the cake mix box to achieve a moist, slightly underbaked texture ideal for stacking.
- Cool the cakes: Once baked, remove the cake pans from the oven and allow the cakes to cool completely on wire racks.
- Shape the cakes: Use a biscuit cutter or the bottom of a glass to cut neat circles from the cake layers. If the layers are uneven, carefully trim with a serrated knife to level them for stacking.
- Make the frosting: In a bowl, beat the softened butter with powdered sugar and vanilla extract until creamy. Add whipping cream or half-and-half gradually to thin the frosting to your desired consistency suitable for spreading.
- Assemble the cake: Stack the colored cake circles in the traditional candy corn color order—white on top, then yellow, and red at the bottom—using the frosting as a glue between layers to form mini cake towers.
Notes
- Candy Corn Cakes make an eye-catching Halloween party treat and are perfect for those who want a festive, handheld dessert.
- Using a biscuit cutter ensures uniform circles for neat and visually appealing layers.
- Be sure to bake the cakes for half the recommended time to maintain moistness ideal for stacking without crumbling.
- If food coloring intensities are too light, add a little more coloring to achieve vibrant candy corn colors.
Nutrition
- Serving Size: 1 serving
- Calories: 742 kcal
- Sugar: 132 g
- Sodium: 721 mg
- Fat: 4 g
- Saturated Fat: 2 g
- Unsaturated Fat: 2 g
- Trans Fat: 1 g
- Carbohydrates: 175 g
- Fiber: 1 g
- Protein: 4 g
- Cholesterol: 1 mg

