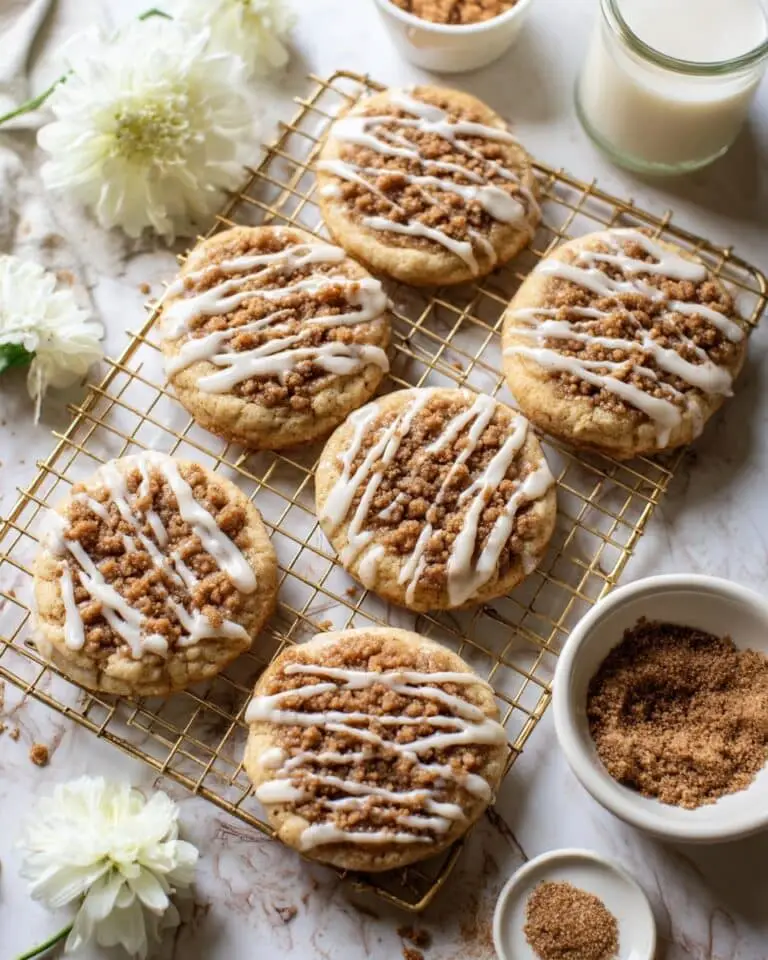
If you’re looking for a delightful twist on a classic treat, you’re going to adore this Apple Pie Cookies Recipe. It brings together the cozy warmth of spiced apples and the comforting familiarity of pie, all wrapped up in a perfectly bite-sized cookie. Whether you’re baking for a crowd or just want something special for your afternoon snack, these cookies are fan-freaking-tastic—I promise you won’t be able to eat just one!
Why You’ll Love This Recipe
- Bursting with Apple Pie Flavor: Every bite captures that classic cinnamon-spiced apple goodness you know and love from your favorite pie.
- Perfectly Soft Yet Crisp: These cookies balance a tender crumb with just the right amount of crunch on the edges.
- Simple Ingredients: No fancy pantry items needed—just basics you probably have on hand.
- Fun for All Occasions: Whether it’s a fall gathering or an everyday treat, these cookies fit right in.

Ingredients You’ll Need
I’ve found that using fresh apples paired with warming spices really makes the flavor of these apple pie cookies shine. Picking the right kind of apple and the type of sugar you use can quietly transform your batch, so here are some tips to help you shop smart.
- Apples: I prefer tart apples like Granny Smith for a nice tang and firm texture that holds up in the cookie.
- Cinnamon: Use a good quality ground cinnamon—it’s the heart of that apple pie flavor.
- Brown Sugar: Adds a deep caramel note and keeps the cookies moist.
- All-Purpose Flour: This creates the perfect cookie base without being too dense.
- Butter: Bring it to room temperature for smooth mixing and rich flavor.
- Vanilla Extract: Just a splash lifts the overall flavor beautifully.
- Baking Powder: Helps the cookies rise slightly and keeps them light.
- Salt: Balances the sweetness and enhances all the other flavors.
Variations
I love to tweak this Apple Pie Cookies Recipe depending on the season or who I’m baking for. Feel free to make it yours by adding little touches that excite your taste buds.
- Gluten-Free Option: I’ve swapped in almond or oat flour with great results, just watch the texture and adjust moisture accordingly.
- Spice It Up: Adding a pinch of nutmeg or ground cloves can really boost that fall vibe—my family asks me to do this every time!
- Maple Syrup Sweetener: Sometimes I replace some of the sugar with pure maple syrup for a mellow sweetness with a hint of woodsy flavor.
- Apple Chunks: For extra texture, I’ve folded in finely chopped apples instead of just using puree or flavor—gives a fun chew.
How to Make Apple Pie Cookies Recipe
Step 1: Prepare Your Apples and Spice Mix
Start by peeling, coring, and finely dicing your apples. You want small pieces that will melt into the cookie while baking but still add a nice texture. In a small bowl, mix together your cinnamon, a pinch of salt, and any other spices you like—this blend is the secret to that unmistakable apple pie flavor.
Step 2: Cream Butter and Sugars
In a large bowl, beat your softened butter with both brown and granulated sugars until creamy and smooth. I usually use a hand mixer on medium speed here—this step sets the stage for tender, chewy cookies. Make sure you scrape down the sides of the bowl to get everything well incorporated.
Step 3: Add Egg and Vanilla for Moisture
Next, crack in the egg and pour in the vanilla extract. Beat again until fully combined. This adds the moisture that keeps the cookies from drying out—don’t skip it!
Step 4: Combine Dry Ingredients with Apples
Whisk together the flour, baking powder, the spice mix from Step 1, and salt in a separate bowl. Gradually add this to the wet ingredients, mixing on low until just combined. Then gently fold in the diced apples, being careful not to overmix—it keeps the cookies tender and soft.
Step 5: Shape and Bake Your Cookies
Use a cookie scoop or tablespoon to drop rounded spoonfuls of dough onto parchment-lined baking sheets. Leave enough space between them because they spread a bit while baking. Bake in a preheated oven at 350°F (175°C) for about 12–15 minutes, or until the edges start turning a lovely golden brown. I love that warm apple aroma that fills the kitchen at this step!
Step 6: Cooling and Storing
Let the cookies cool on the baking sheet for 5 minutes before transferring them to a wire rack. This helps them set up perfectly without crumbling. Once cooled, store in an airtight container for up to a week—or freeze for longer storage.
Pro Tips for Making Apple Pie Cookies Recipe
- Choose Crisp Apples: I learned the hard way that super soft apples make the dough too wet—Granny Smith or Honeycrisp work best.
- Don’t Overmix: Mixing just until the flour disappears keeps cookies tender, which I always remind myself.
- Chill the Dough: Popping the dough in the fridge for 30 minutes helps control spreading and intensifies flavors.
- Watch Your Oven: Every oven’s different—start checking your cookies a couple of minutes early to avoid burning.
How to Serve Apple Pie Cookies Recipe
Garnishes
I love sprinkling a tiny touch of powdered sugar or a light cinnamon dusting right before serving—it adds a charming, cozy look that beckons you to take the first bite. Sometimes, a dollop of lightly whipped cream on the side is just heavenly.
Side Dishes
These cookies go beautifully with a big cup of chai latte or a simple warm apple cider. If you want a more substantial pairing, try them alongside vanilla ice cream or even a scoop of caramel gelato for an indulgent apple pie-inspired dessert plate.
Creative Ways to Present
For holiday gatherings, I like to arrange these cookies on a festive platter with fresh apple slices and cinnamon sticks for an extra pop of color and scent. Wrapping small batches in clear cellophane tied with rustic twine also makes a sweet homemade gift that everyone raves about.
Make Ahead and Storage
Storing Leftovers
I always store leftover apple pie cookies in an airtight container at room temperature. This keeps them soft and fresh for up to 5 days. If you notice they get a little firm, a few seconds in the microwave bring back that just-baked softness.
Freezing
These cookies freeze like a dream! I lay them flat in a freezer-safe container separated by parchment paper to avoid sticking. When you’re ready to enjoy them, just let them thaw on your countertop; they taste just as fresh as homemade.
Reheating
If your cookies have lost a bit of their warmth, pop them in the oven at 300°F for a few minutes or zap them in the microwave for 10-15 seconds. Trust me—this totally revives their chewy texture and brings out all those delicious spices.
FAQs
-
Can I use apple sauce instead of diced apples in the Apple Pie Cookies Recipe?
Great question! While you can use apple sauce, it will add extra moisture to the dough. I recommend reducing some of the butter or adding a bit more flour to prevent the cookies from becoming too soft or spreading too much.
-
How do I make these cookies vegan?
To make vegan apple pie cookies, swap the butter for a firm plant-based butter and replace the egg with a flax or chia egg (1 tablespoon ground flaxseed or chia seeds mixed with 3 tablespoons water). The texture might be slightly different, but they’re still delicious!
-
Can I add nuts or raisins to this Apple Pie Cookies Recipe?
Absolutely! Adding chopped walnuts or pecans gives a lovely crunch, and raisins add bursts of sweetness. I usually toast the nuts first for extra flavor and fold them in gently to avoid overmixing.
-
What’s the best way to prevent my cookies from spreading too much?
Chilling the dough for at least 30 minutes before baking is my secret weapon. It firms up the fat in the dough, so the cookies keep their shape better. Also, make sure your baking sheet isn’t too warm from previous batches, which can cause premature spreading.
Final Thoughts
I absolutely love how this Apple Pie Cookies Recipe brings the heartwarming essence of apple pie into a cookie form that’s perfect for sharing, gift-giving, or just treating yourself. When I first tried baking these, my whole kitchen smelled like autumn, and my family went crazy for them (I had to bake a second batch the same day!). If you’re on the hunt for a cozy, approachable recipe that tastes like a hug in cookie form, you’ll want to keep this one bookmarked. Go ahead, bake a batch and see for yourself—your taste buds will thank you!
Print
Apple Pie Cookies Recipe
- Prep Time: 25 minutes
- Cook Time: 60 minutes
- Total Time: 145 minutes
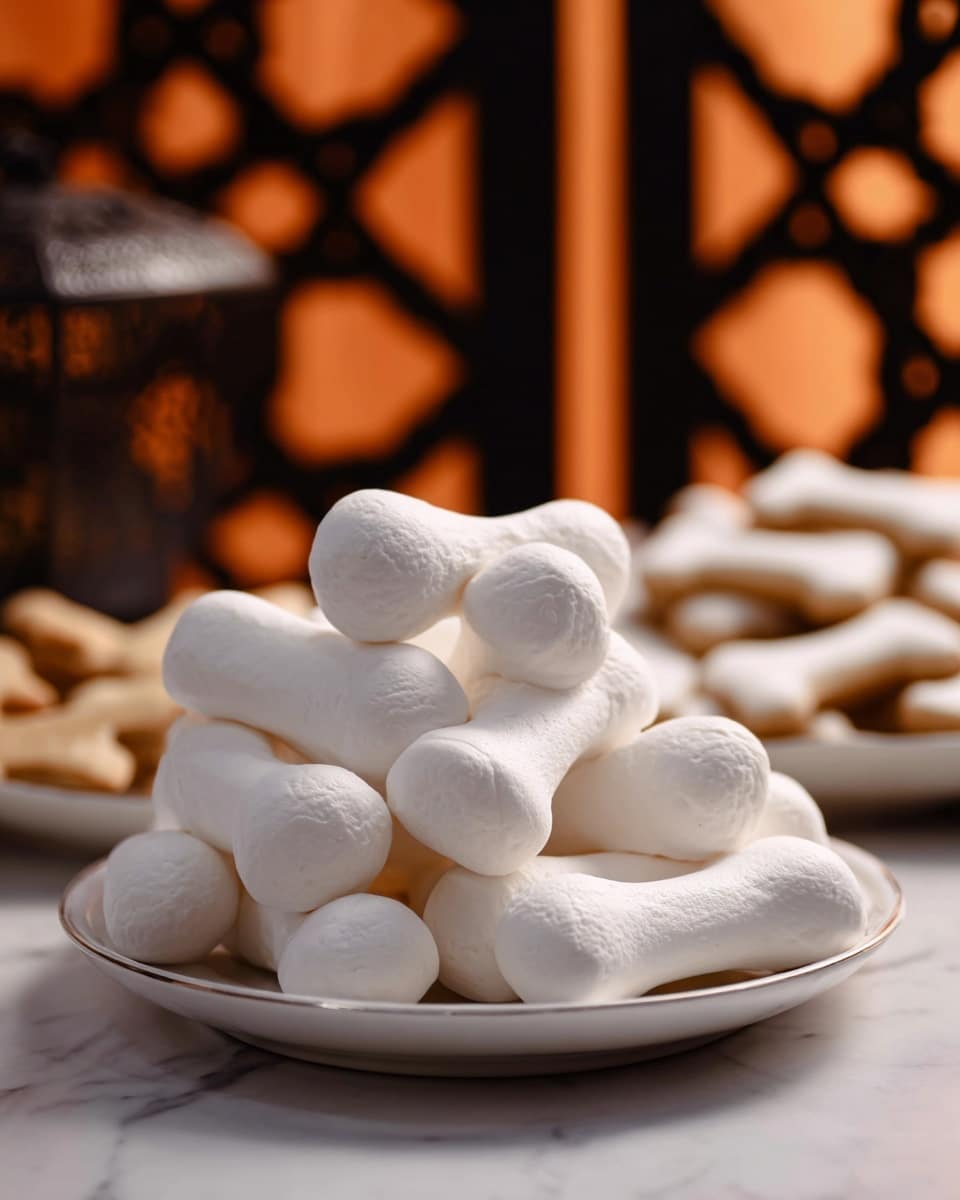
- Yield: About 60 meringue bones (4 to 5 dozen)
- Category: Dessert
- Method: Baking
- Cuisine: American
- Diet: Vegetarian
Description
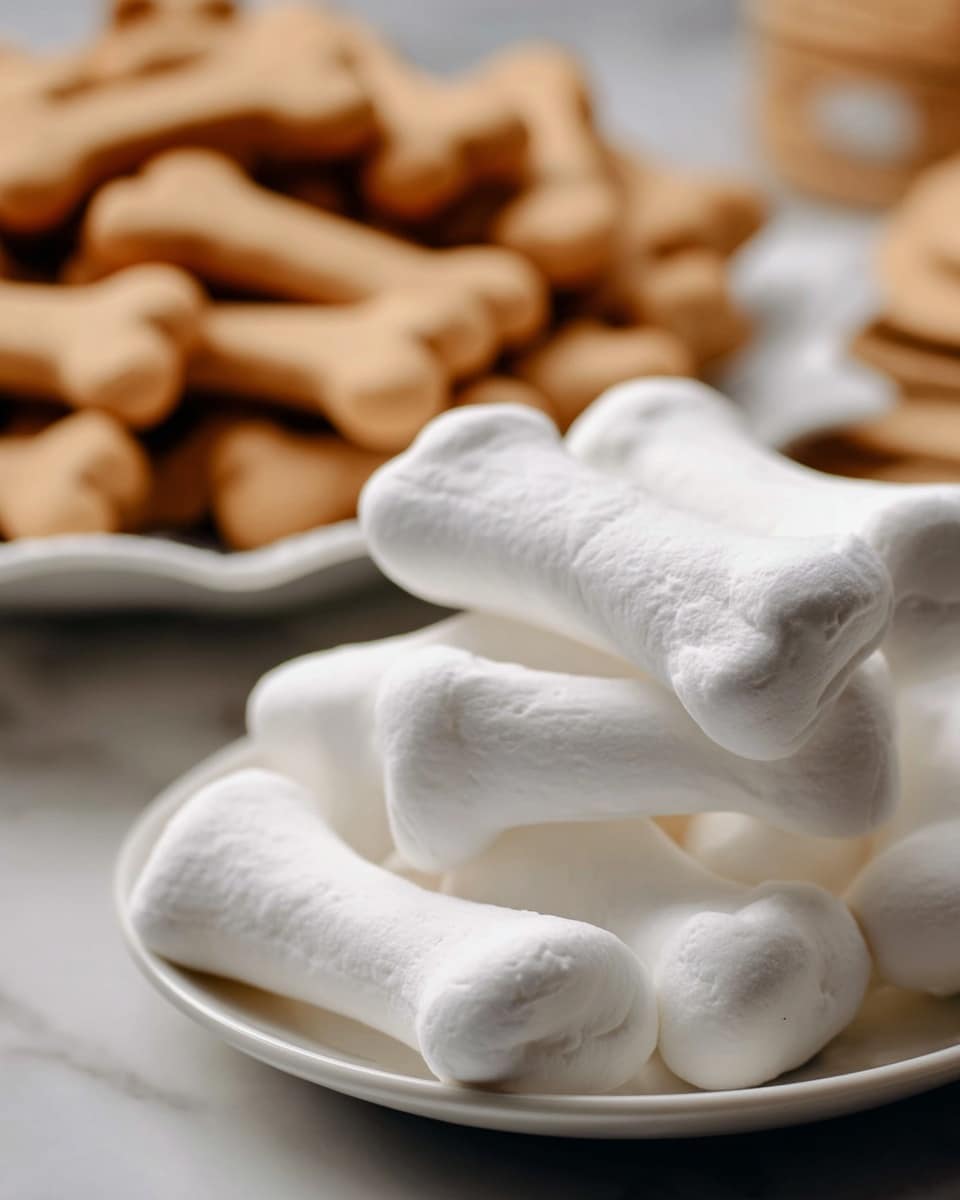
Meringue Bones are a delightful and spooky Halloween treat made from simple ingredients. These light and airy meringue cookies shaped like bones are easy to prepare and perfect for festive parties or fun snacks. With just egg whites, cream of tartar, sugar, and vanilla, you can whip up a batch that dries to a crisp, sweet perfection.
Ingredients
Ingredients
- 3 large eggs (separated)
- ¼ teaspoon cream of tartar
- ⅛ teaspoon fine salt
- ⅔ cup fine sugar
- ½ teaspoon vanilla extract
Instructions
- Preheat Oven: Preheat your oven to 200 °F (93 °C) to prepare for slow drying of the meringue bones.
- Prepare Baking Sheets: Line baking sheets with brown paper bags or parchment paper to prevent sticking and make cleanup easier.
- Separate Eggs: Using an egg separator, separate the 3 large eggs, placing the yolks aside for another use and collecting the egg whites in a medium mixing bowl.
- Beat Egg Whites: Add ¼ teaspoon cream of tartar and ⅙ teaspoon fine salt to the egg whites. Beat at high speed using a mixer until the mixture becomes fluffy and soft peaks form.
- Add Sugar and Vanilla: Slowly add ⅔ cup fine sugar while continuing to beat. Then add ½ teaspoon vanilla extract and beat for another minute until the mixture is glossy and holds stiff peaks.
- Pipe Bone Shapes: Transfer the meringue mixture into a piping bag fitted with a plain tip or a large plastic bag with a small corner snipped off. Pipe out three-inch bone shapes onto the prepared baking sheets, spacing them adequately.
- Bake and Dry: Bake in the preheated oven for 1 hour. After the hour, turn off the oven and leave the meringue bones inside to dry for an additional hour to achieve crispness.
- Cool and Store: Once dried, remove the meringue bones from the oven and let them cool completely. Store them in an airtight container to prevent them from becoming soggy.
Notes
- Meringue Bones make for a fun and festive Halloween snack that is quick and easy to prepare with just five ingredients.
- Be sure to dry the meringue completely in the oven after baking to achieve a crisp texture.
- You can store these bones in an airtight container at room temperature for several days.
- Use high-quality vanilla extract for the best flavor.
- Ensure no yolk contaminates the egg whites for optimal whipping.
Nutrition
- Serving Size: 1 meringue bone
- Calories: 12
- Sugar: 2 g
- Sodium: 8 mg
- Fat: 1 g
- Saturated Fat: 1 g
- Unsaturated Fat: 2 g
- Trans Fat: 1 g
- Carbohydrates: 2 g
- Fiber: 0 g
- Protein: 1 g
- Cholesterol: 8 mg
